
Menu Management
Complete menu management with categories, products, variants, and pricing
Use Menu to review categories and products. Menu changes and their availability on other channels depend on your restaurant's setup; check the result after making an authorized change.
Review draft: The category view below shows an example restaurant menu. Editing, saving, and syncing have not been verified in this review. The remaining older screenshots and steps need product and privacy review before publication.
Scroll across the image to see all three markers.
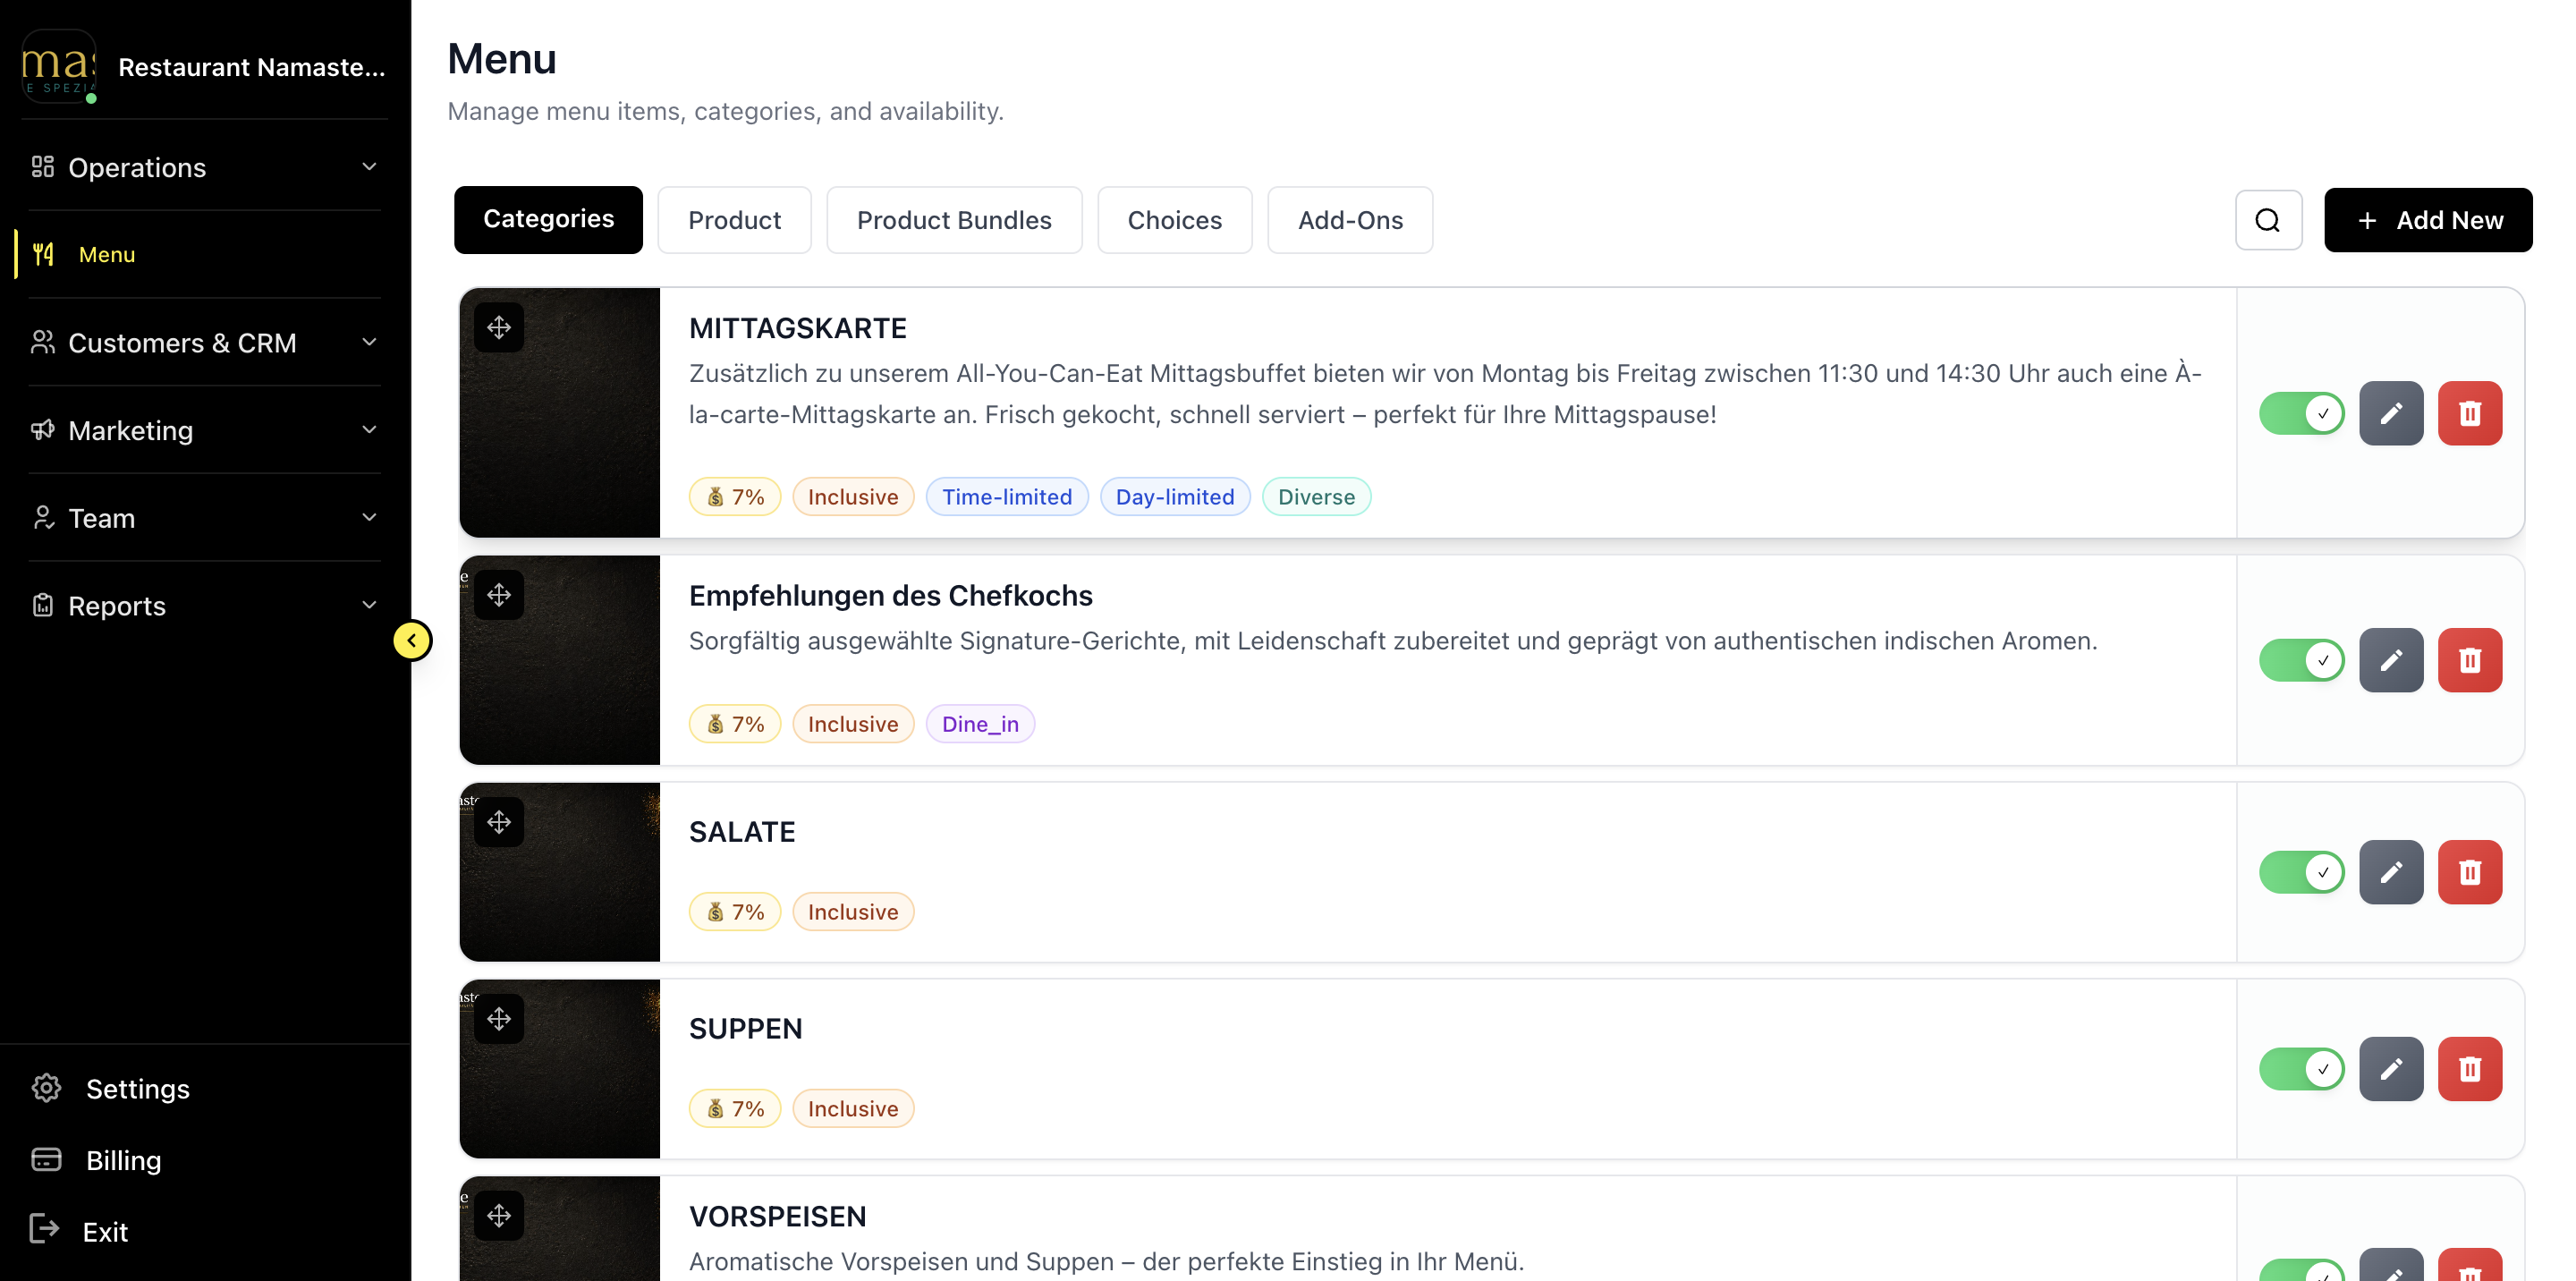
Example Partner Portal Categories view.
- Categories: Review your menu categories.
- Product: Choose Product to find menu items.
- Search: Search the current view.
Menu Structure
Your menu is organized in a hierarchy:
| Level | Description | Example |
|---|---|---|
| Categories | Main sections | Pizza, Pasta, Drinks |
| Products | Individual items | Margherita Pizza |
| Variants | Size/type options | Small, Medium, Large |
| Add-ons | Extra toppings | Extra Cheese, Mushrooms |
| Choices | Required selections | Crust Type, Sauce |
Managing Categories
Viewing Categories
Step 1: Click Menu in the sidebar
Step 2: Click the Categories tab
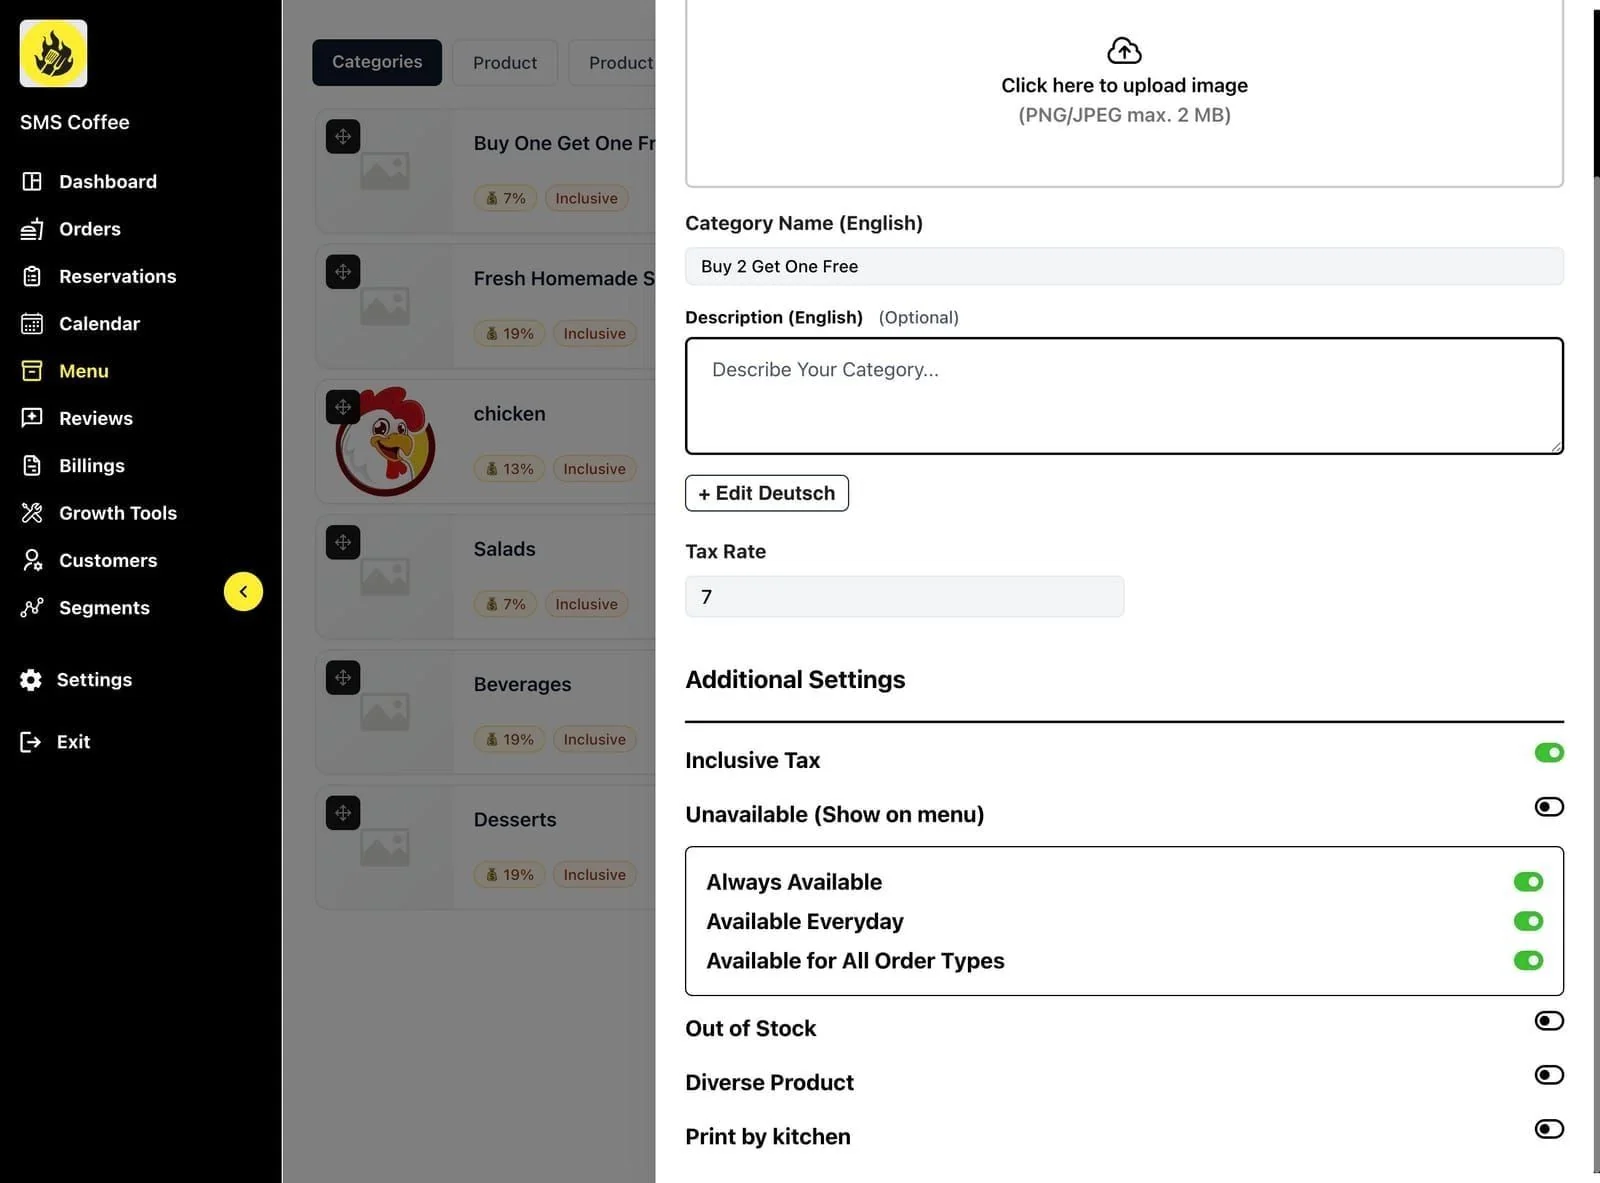
Step 3: See all your menu categories with product counts
Creating a Category
Step 1: On the Categories tab, select Add New if available.
Step 2: Enter category details:
- Category name
- Description (optional)
- Display order
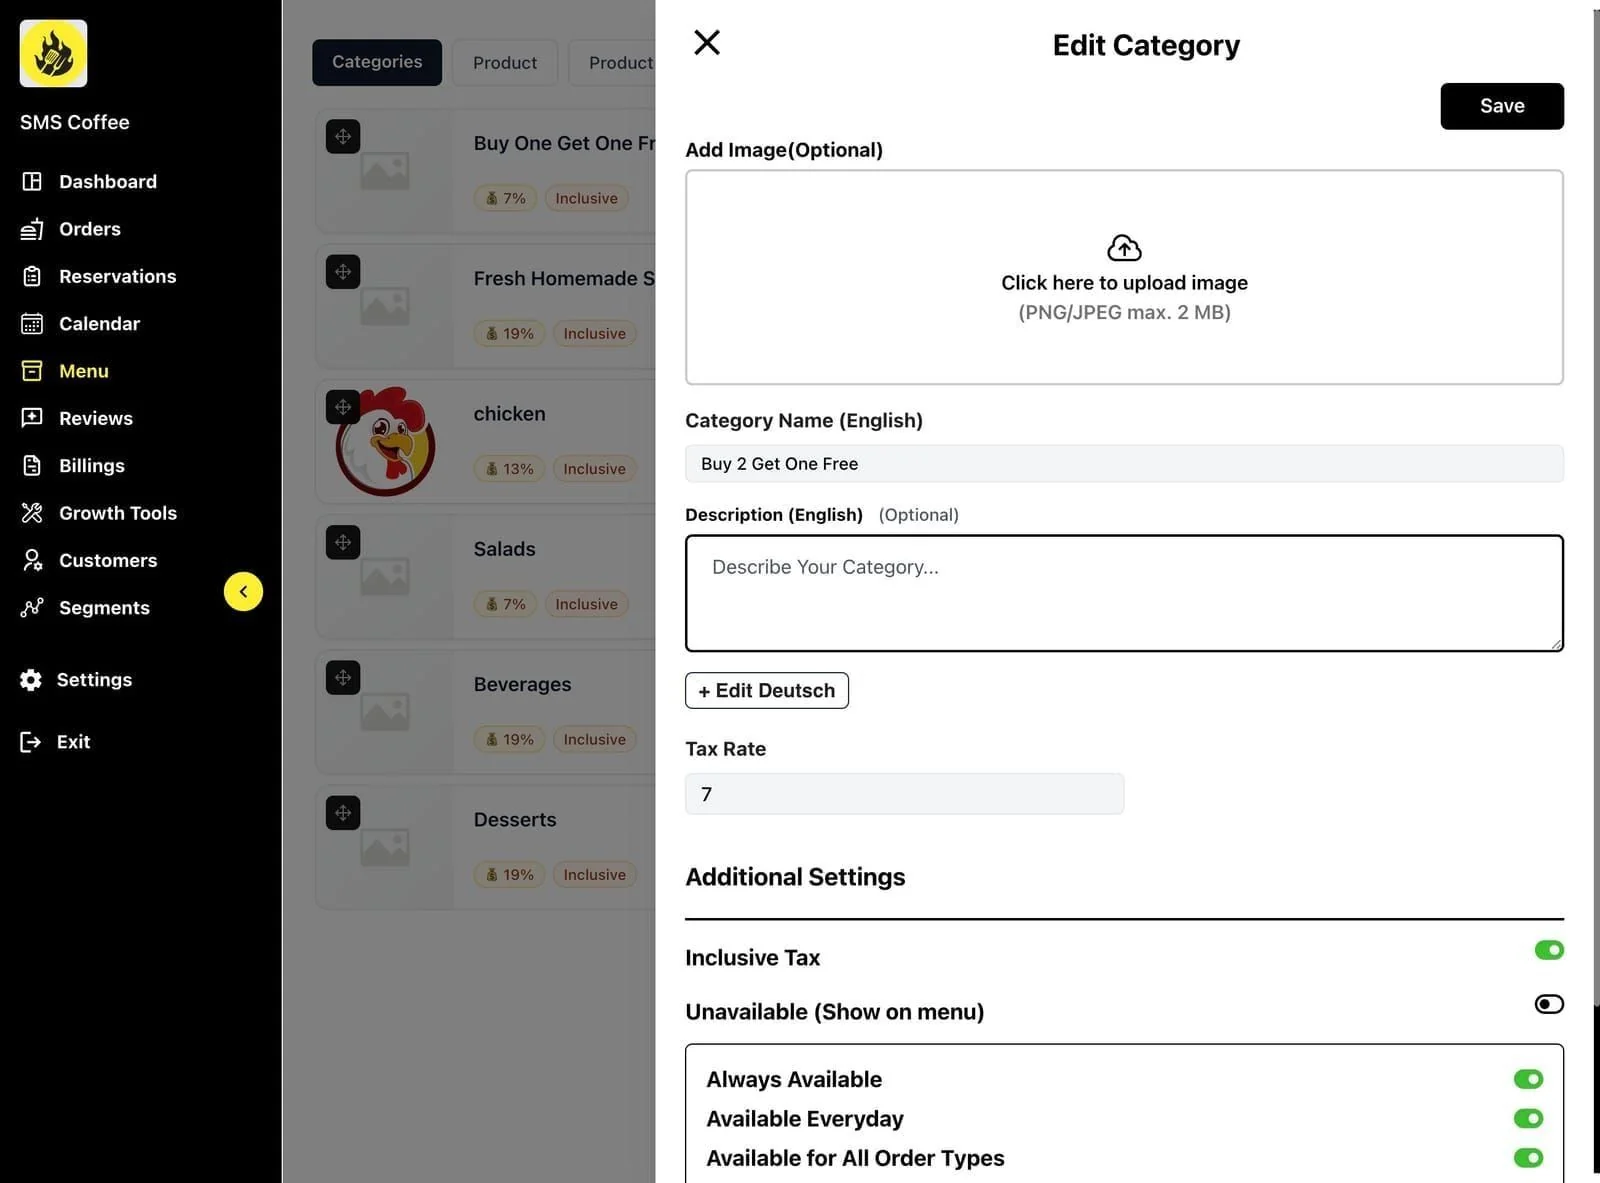
Step 3: Upload a category image (optional)
Step 4: Click Save
Editing a Category
Step 1: Find the category in the list
Step 2: Click the Edit button
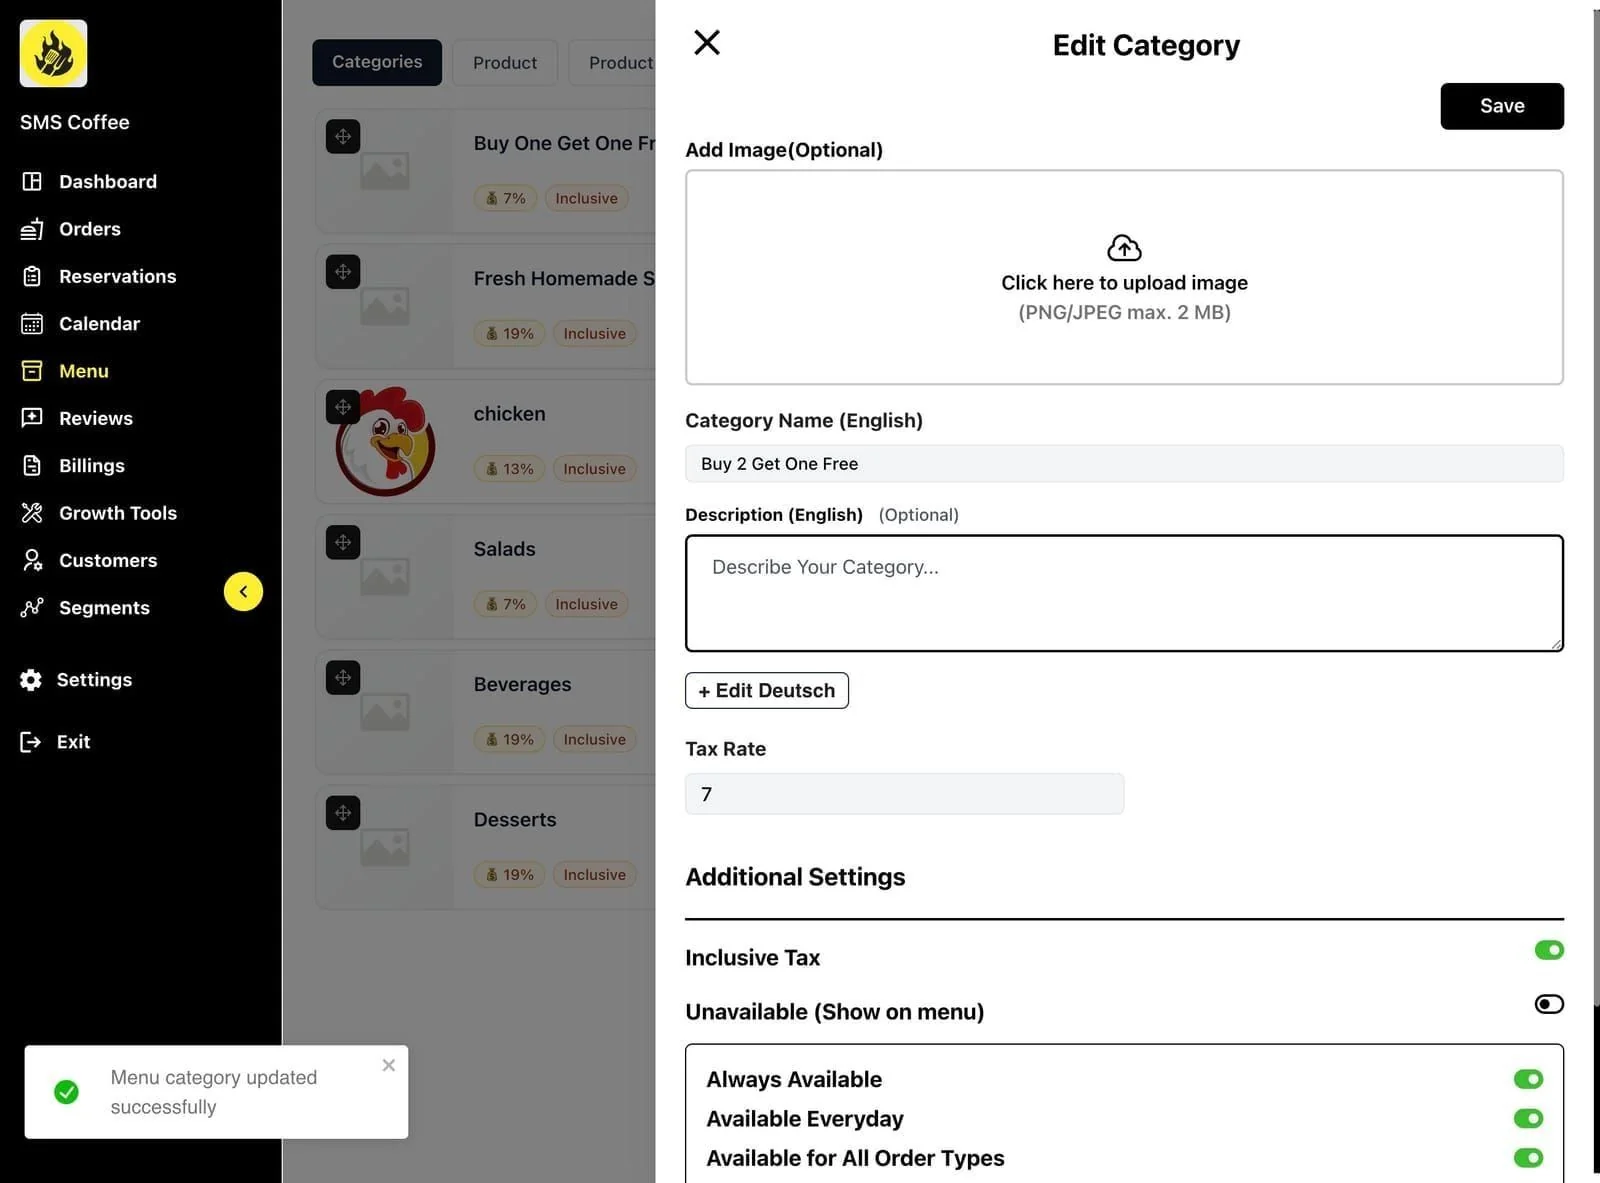
Step 3: Update the name, description, or image
Step 4: Click Save
Managing Products
Viewing Products
Step 1: Click the Product tab
Step 2: Browse products or use search
Step 3: Filter by category to narrow results
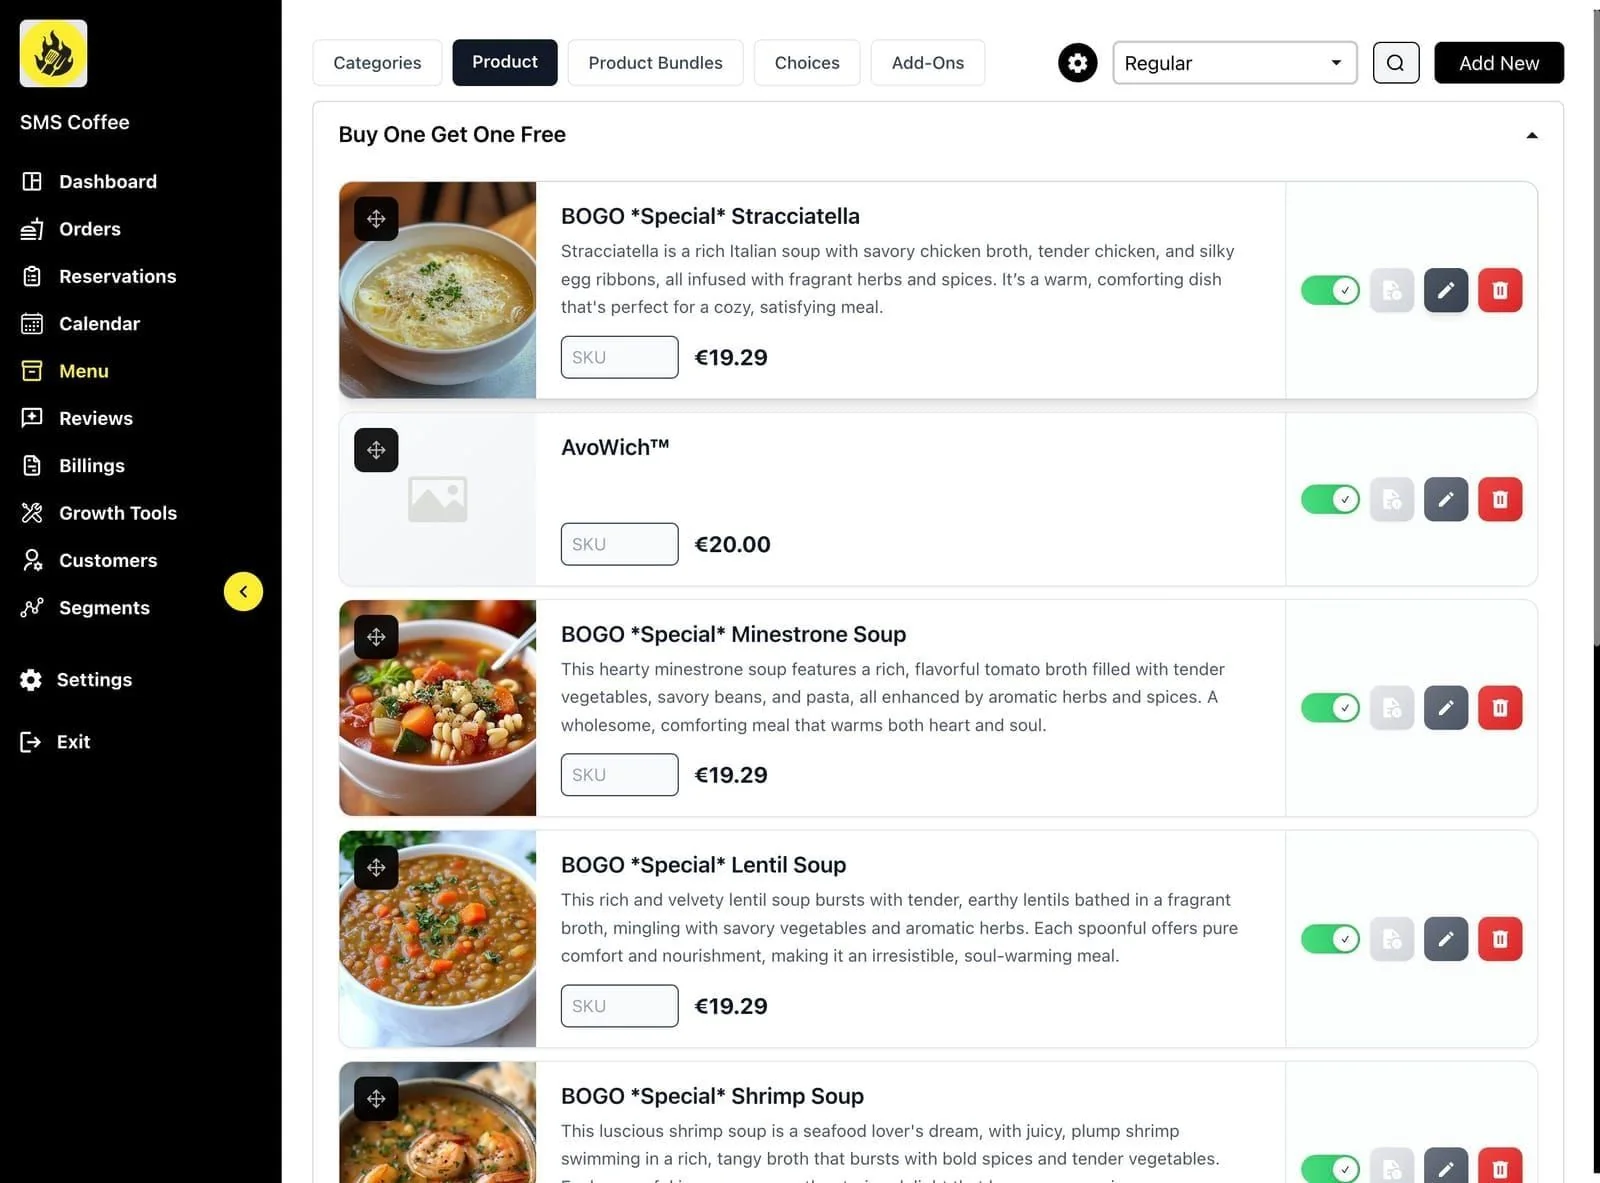
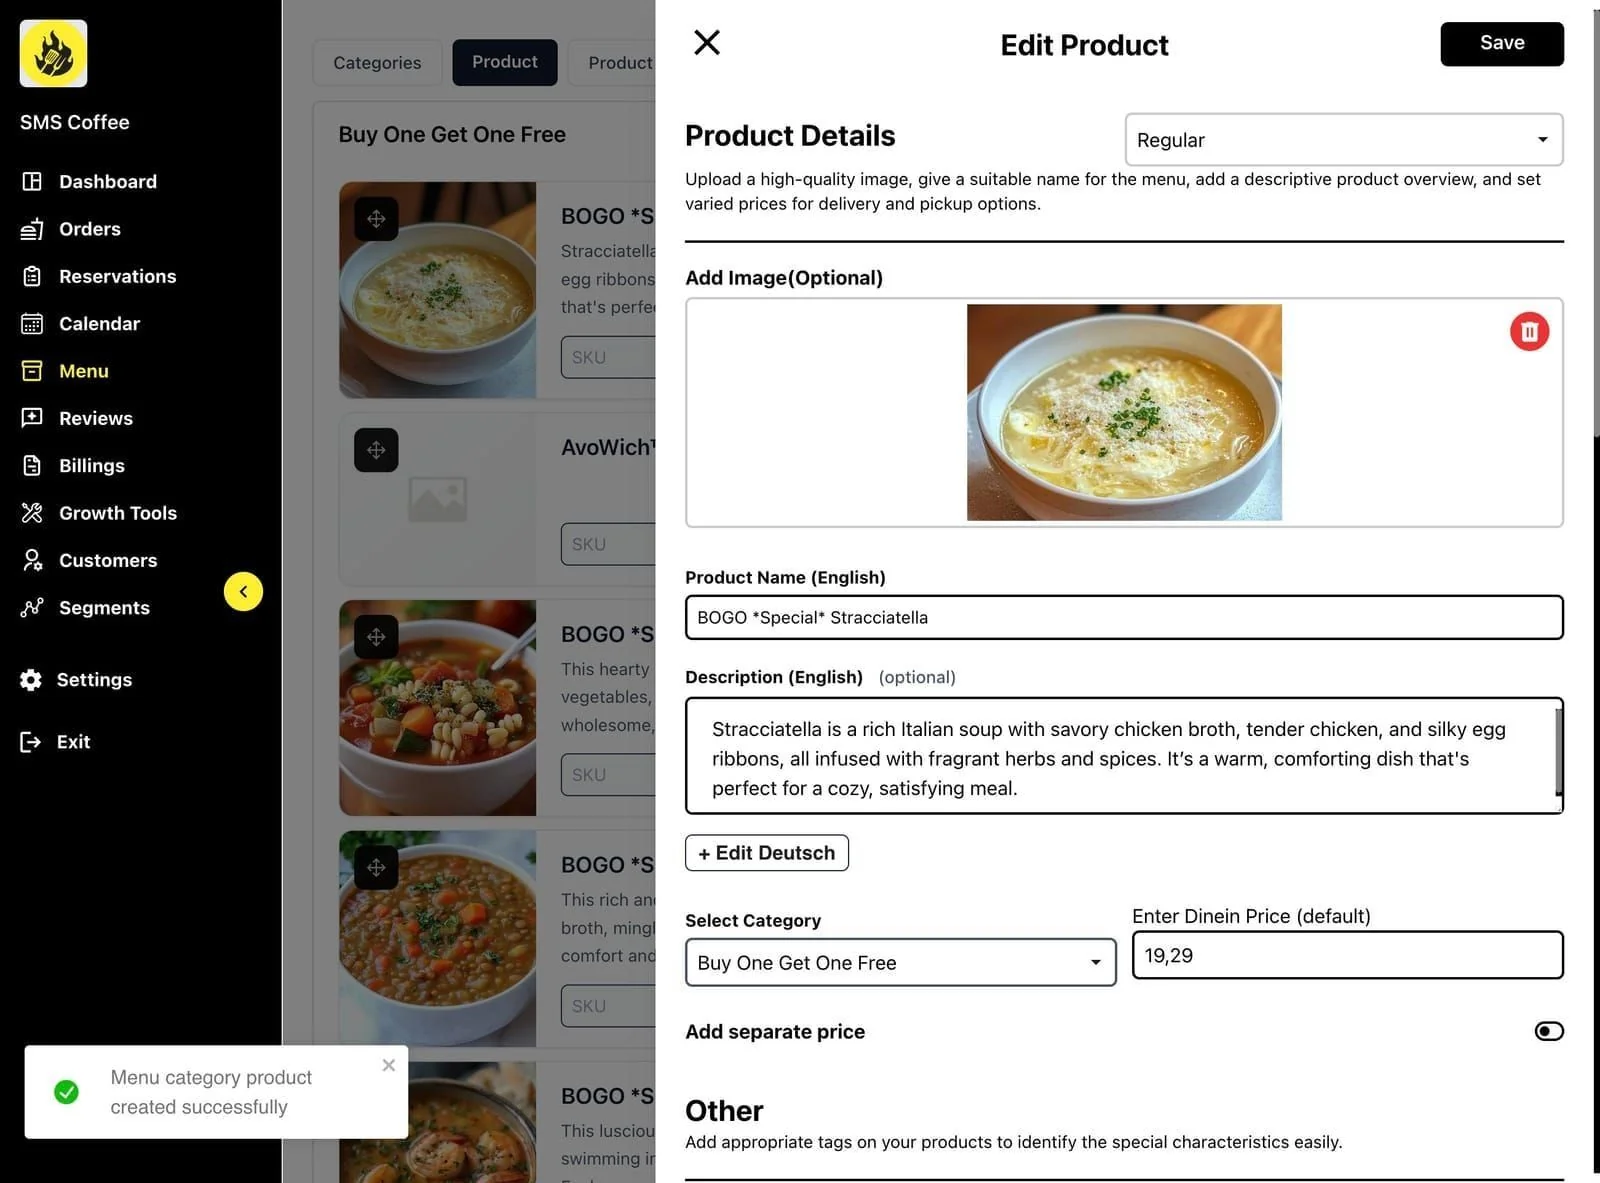
Edit a product
- Open Menu, select Product, and expand the category containing the item.
- Select the pencil beside the product to open its details.
- Update the information you need, such as its name, description, category, or default dine-in price.
- Review your changes, select Save, and check the result in the relevant ordering view.
These examples are from the vGrubs staging visual guide dated October 12, 2026. The price is sample data. Editing and saving were not tested in the current QA review; labels and options may differ.
Scroll across the screenshot if needed to see the marker.

Staging example: use the pencil to open the product.
- Edit: Select the pencil beside the product.
Scroll across the screenshot if needed to see all four markers.
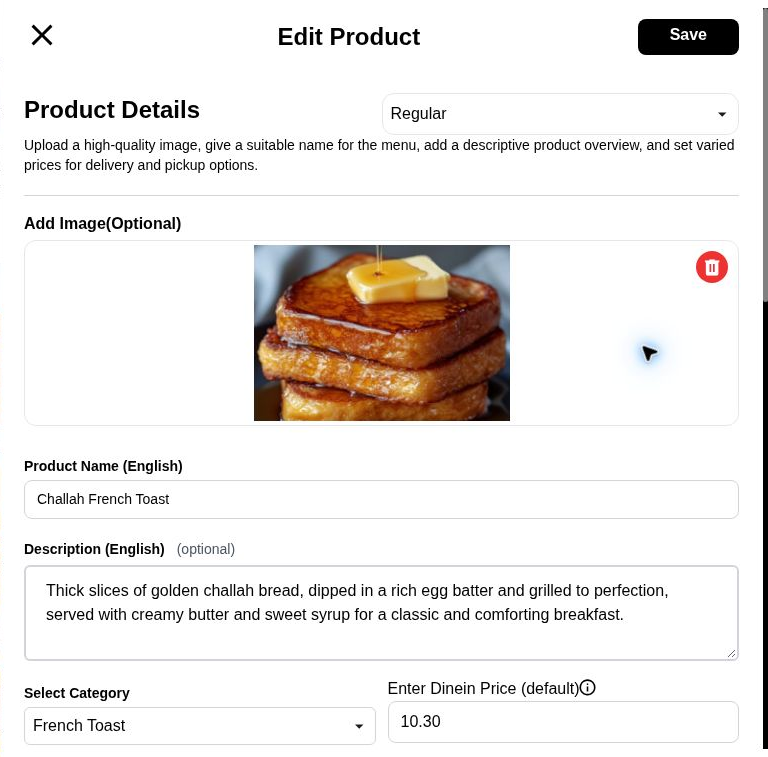
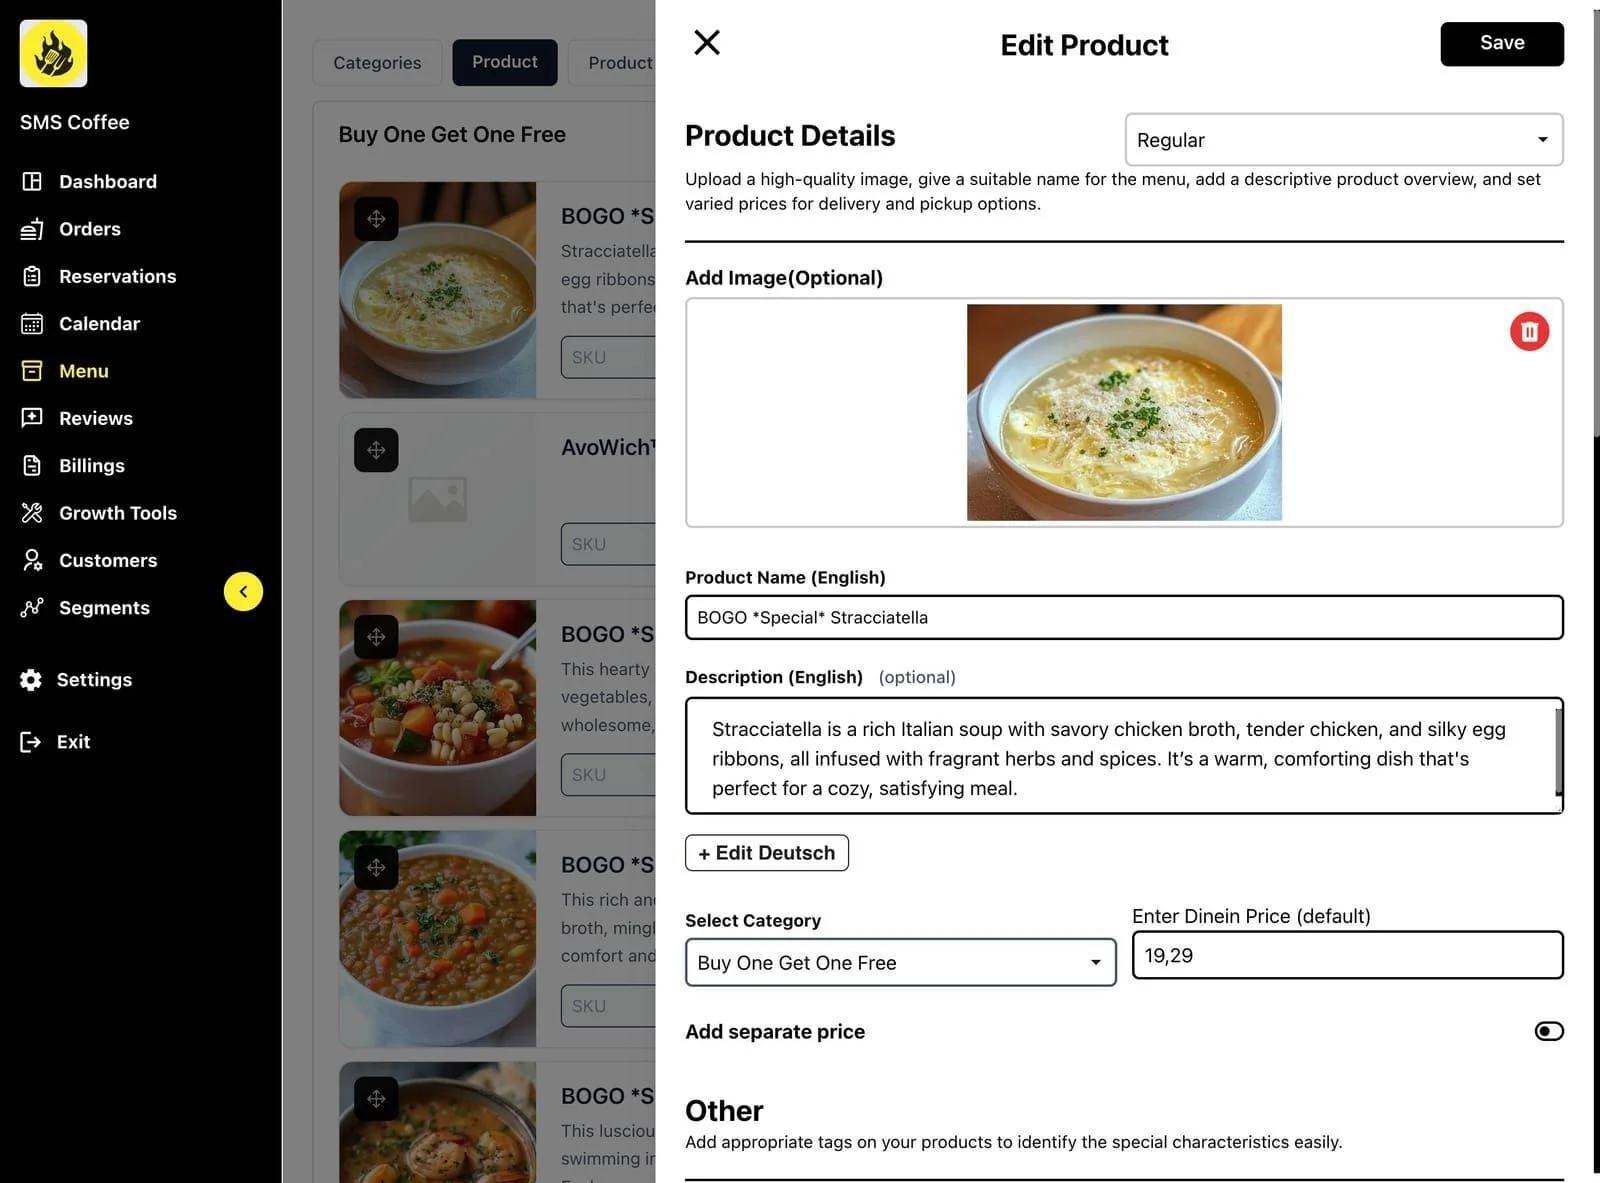
Staging example: review the product details before saving.
- Name: Check the product name.
- Description: Review what is included and any important details.
- Category and price: Check the category and default dine-in price.
- Save: Review changes before saving.
Review an out-of-stock item
- Follow Edit a product to open the item.
- Scroll to Additional Settings and find Out of Stock.
- If an authorized change is needed, review it, select Save, and check the relevant ordering view.
This staging example shows where to find the control. Changing or saving it and its effect on ordering were not tested in the current US QA review.
Scroll across the screenshot if needed to see the marker.
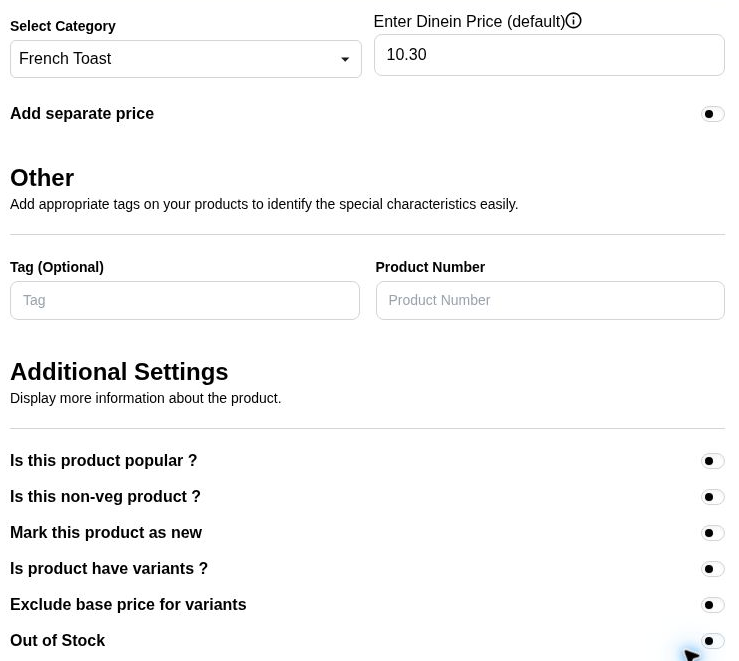
Staging example from October 12, 2026: find Out of Stock under Additional Settings.
- Out of Stock: Review this control for the product.
Adding a New Product
Step 1: Click Add Product button
Step 2: Enter basic product information:
- Product name
- Description
- Base price
- Category
Step 3: Add product variants (sizes):
- Size name (Small, Medium, Large)
- Price for each size
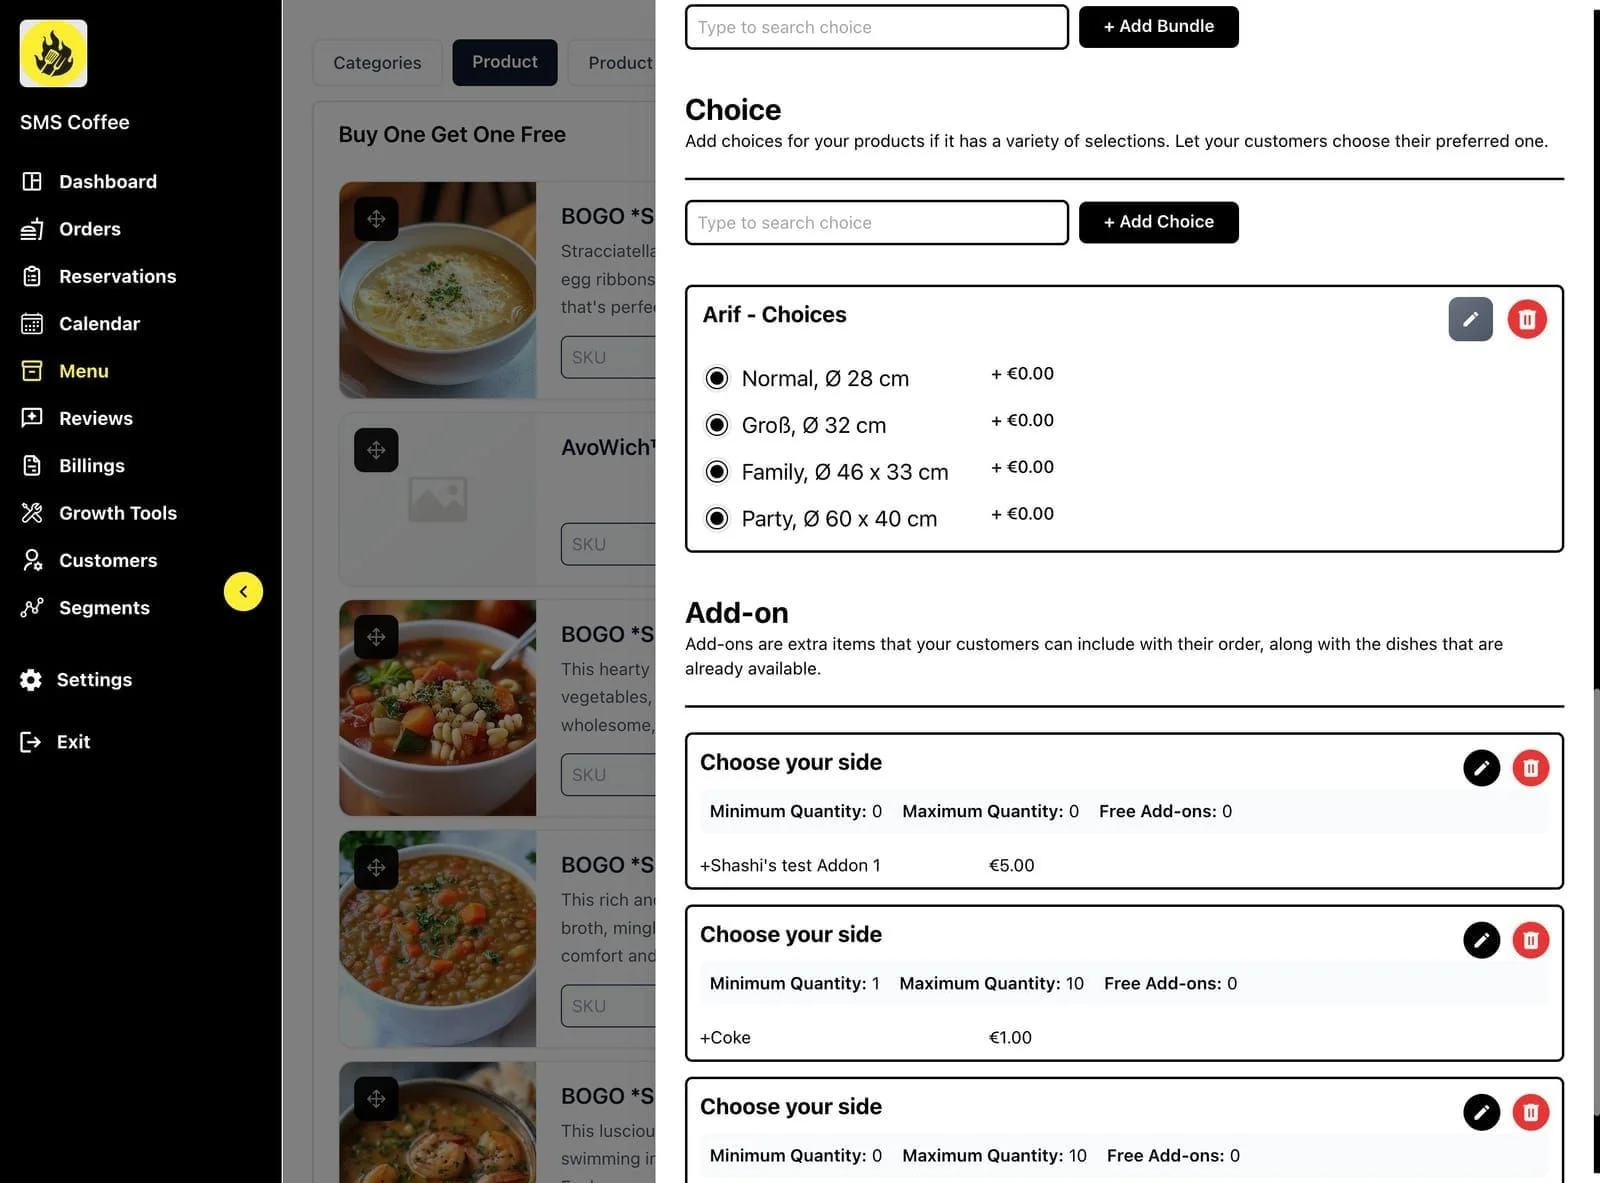
Step 4: Configure choices (required selections):
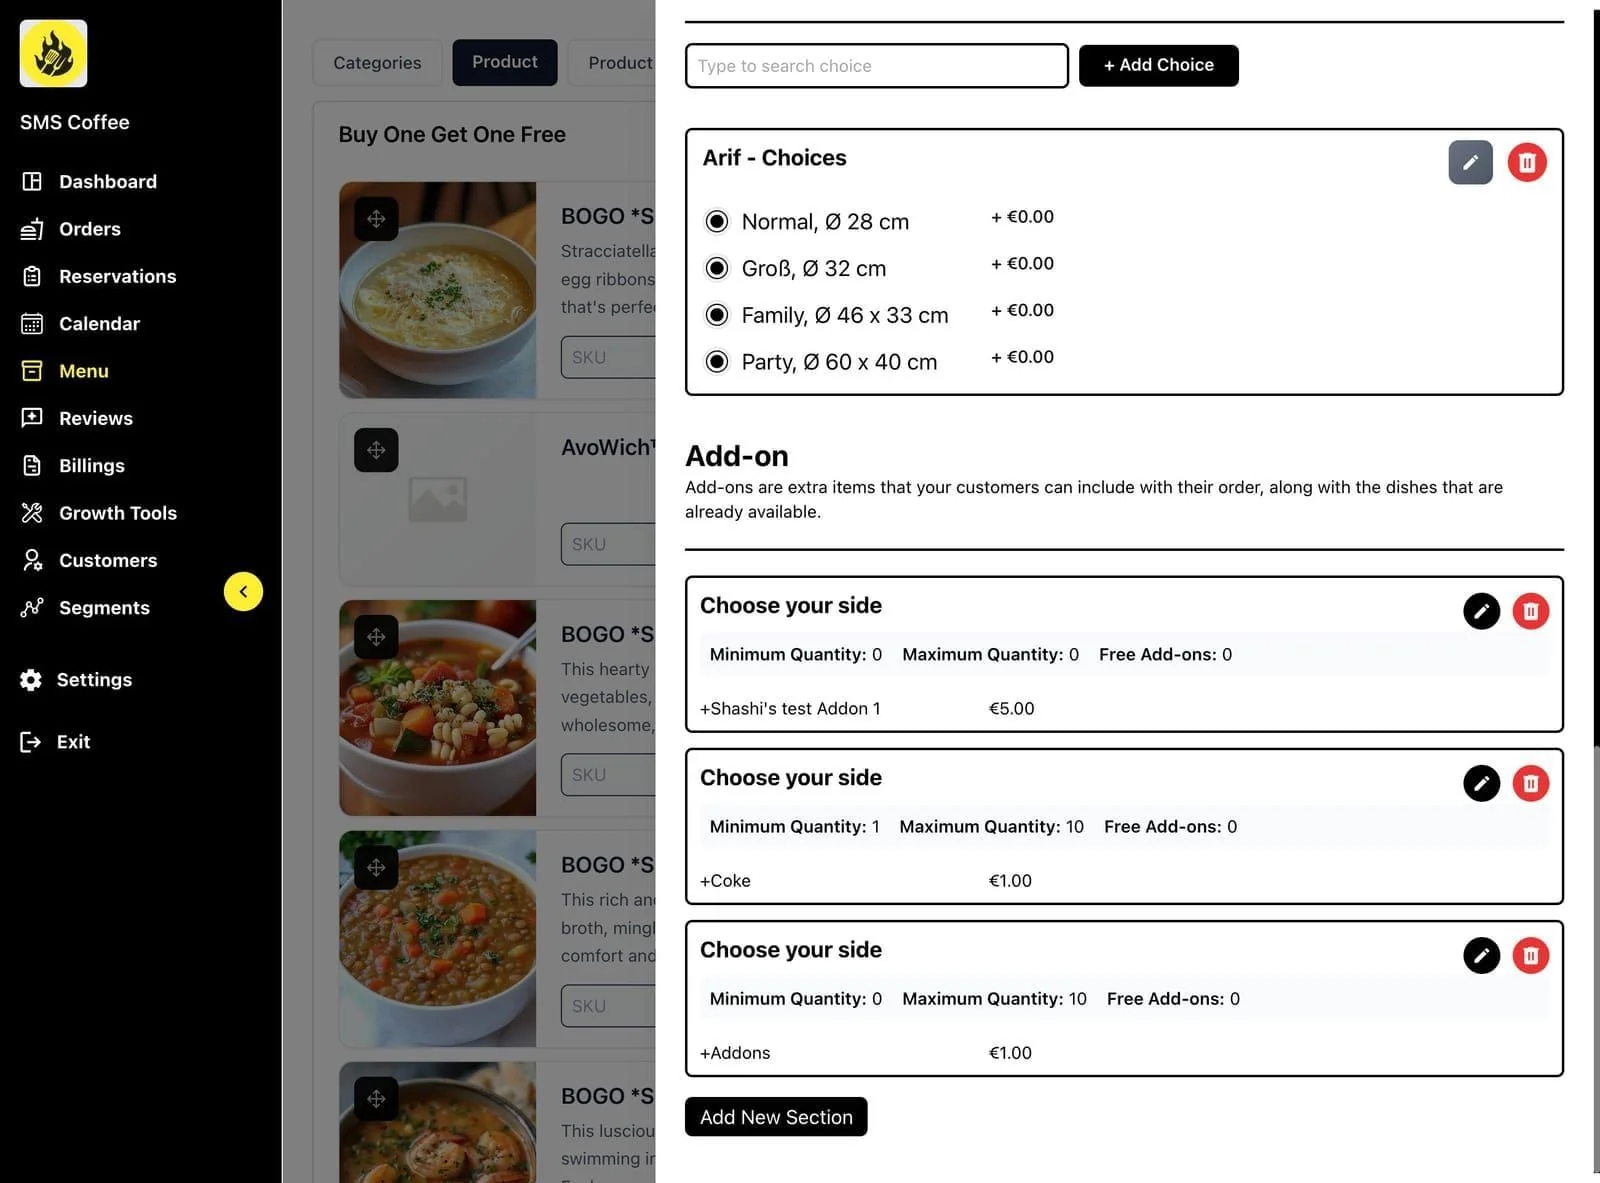
- Choose from existing choice groups
- Set as required or optional
Step 5: Add available add-ons:
- Select add-on groups
- Set prices per add-on
Step 6: Configure additional settings:
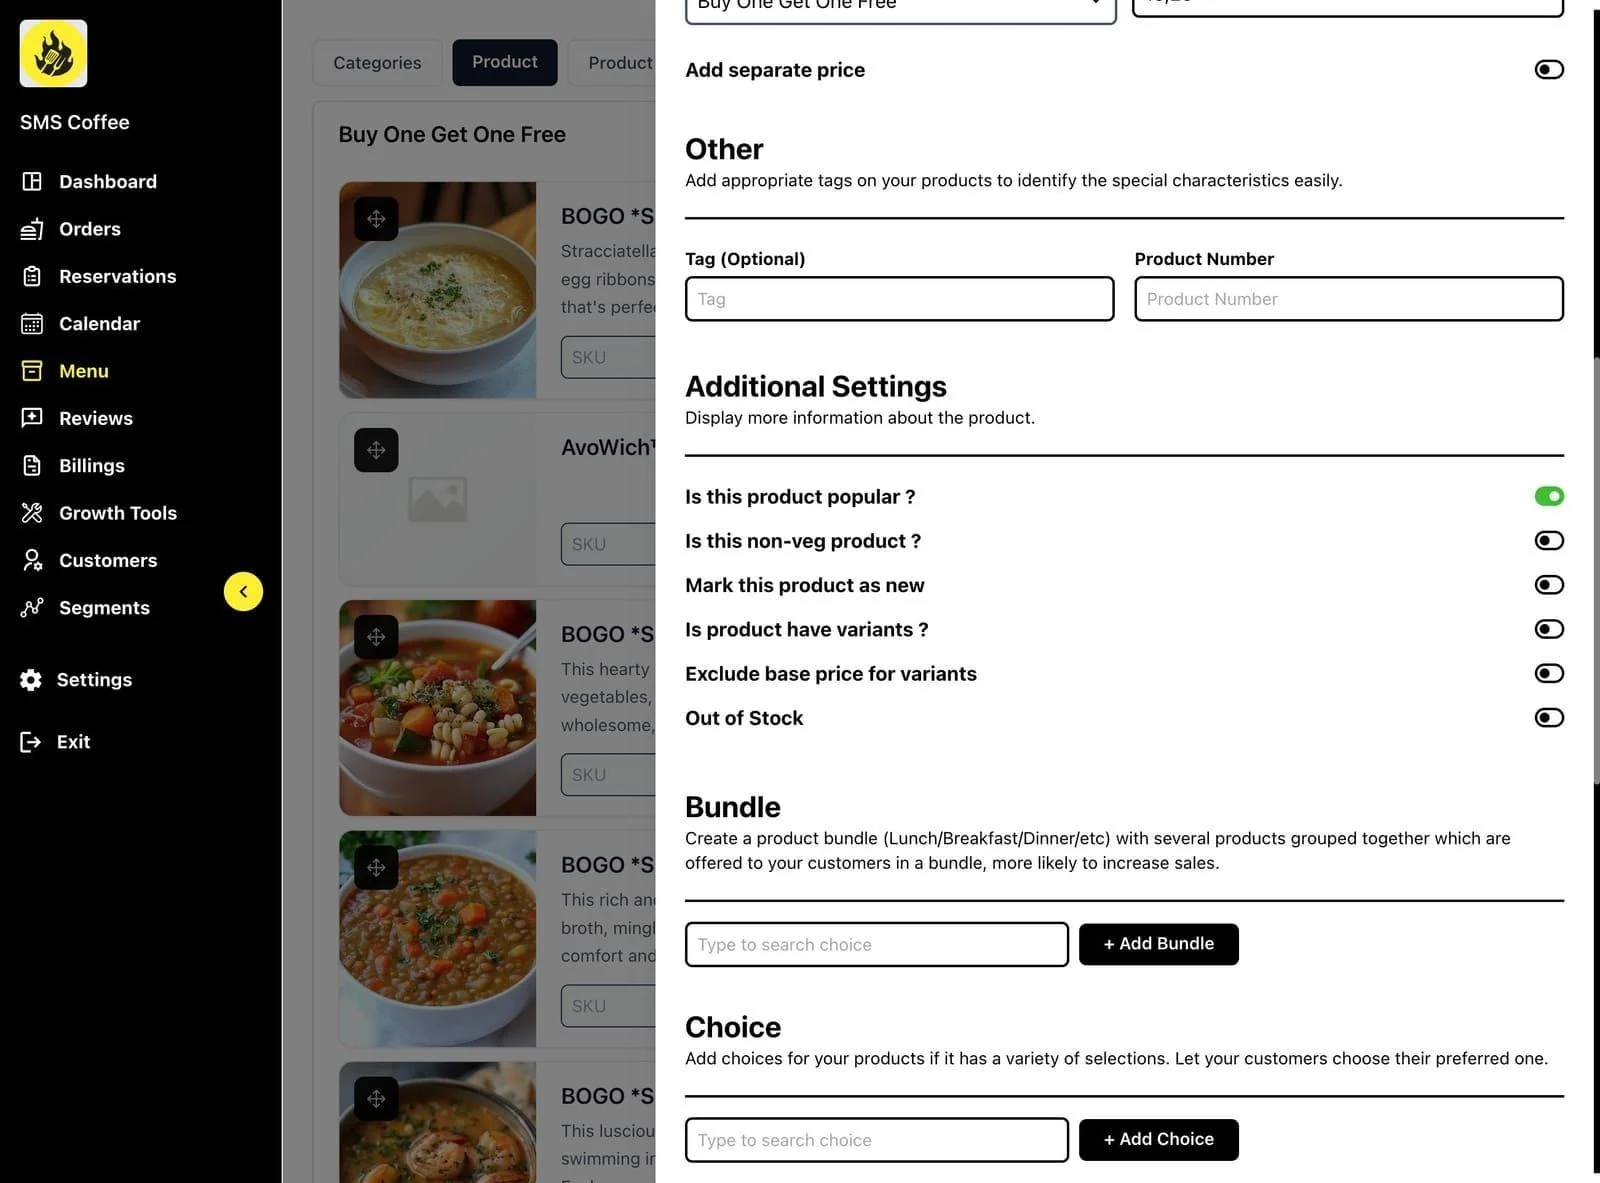
- Allergen information
- Nutritional data
- SKU code
- Availability
Step 7: Click Save to publish
Managing Choices
Choices are options customers must or can select:
Step 1: Click the Choices tab
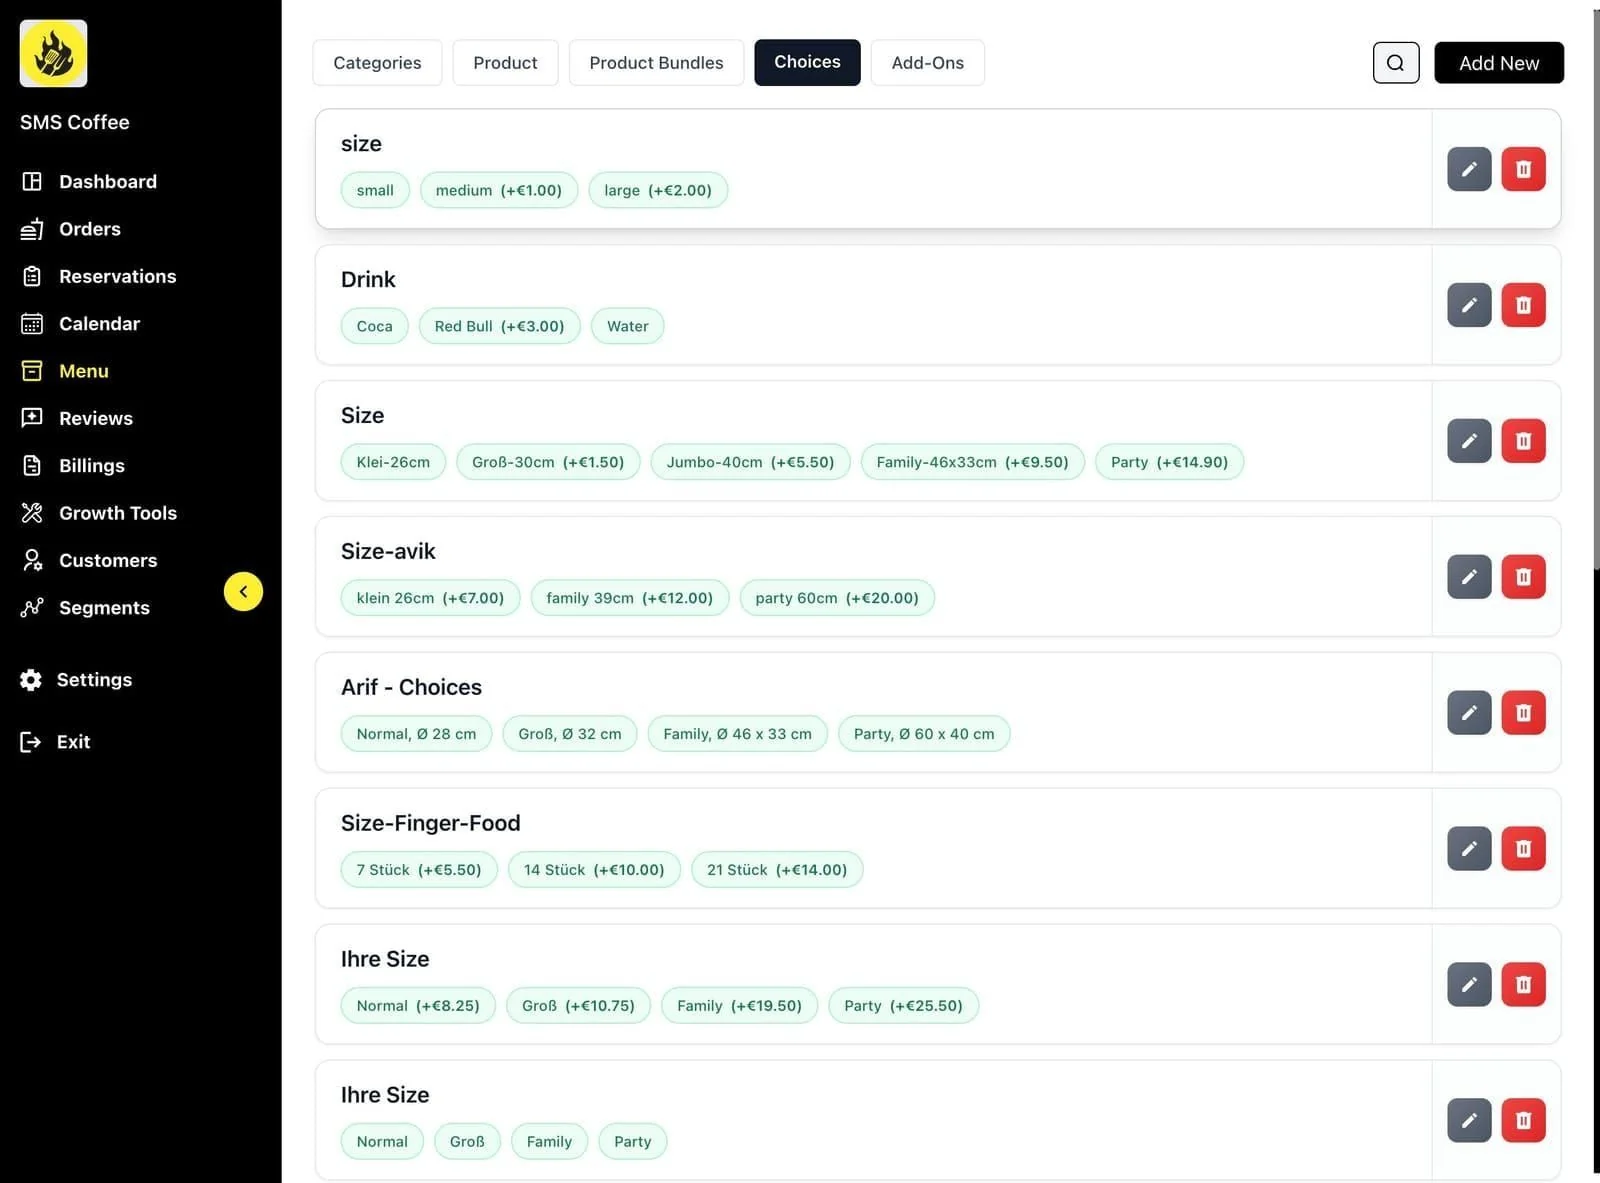
Step 2: View all choice groups
Creating a Choice Group
Step 1: Click Add Choice
Step 2: Enter choice details:
- Group name (e.g., "Crust Type")
- Required or Optional
- Single or Multiple selection
Step 3: Add choice items:
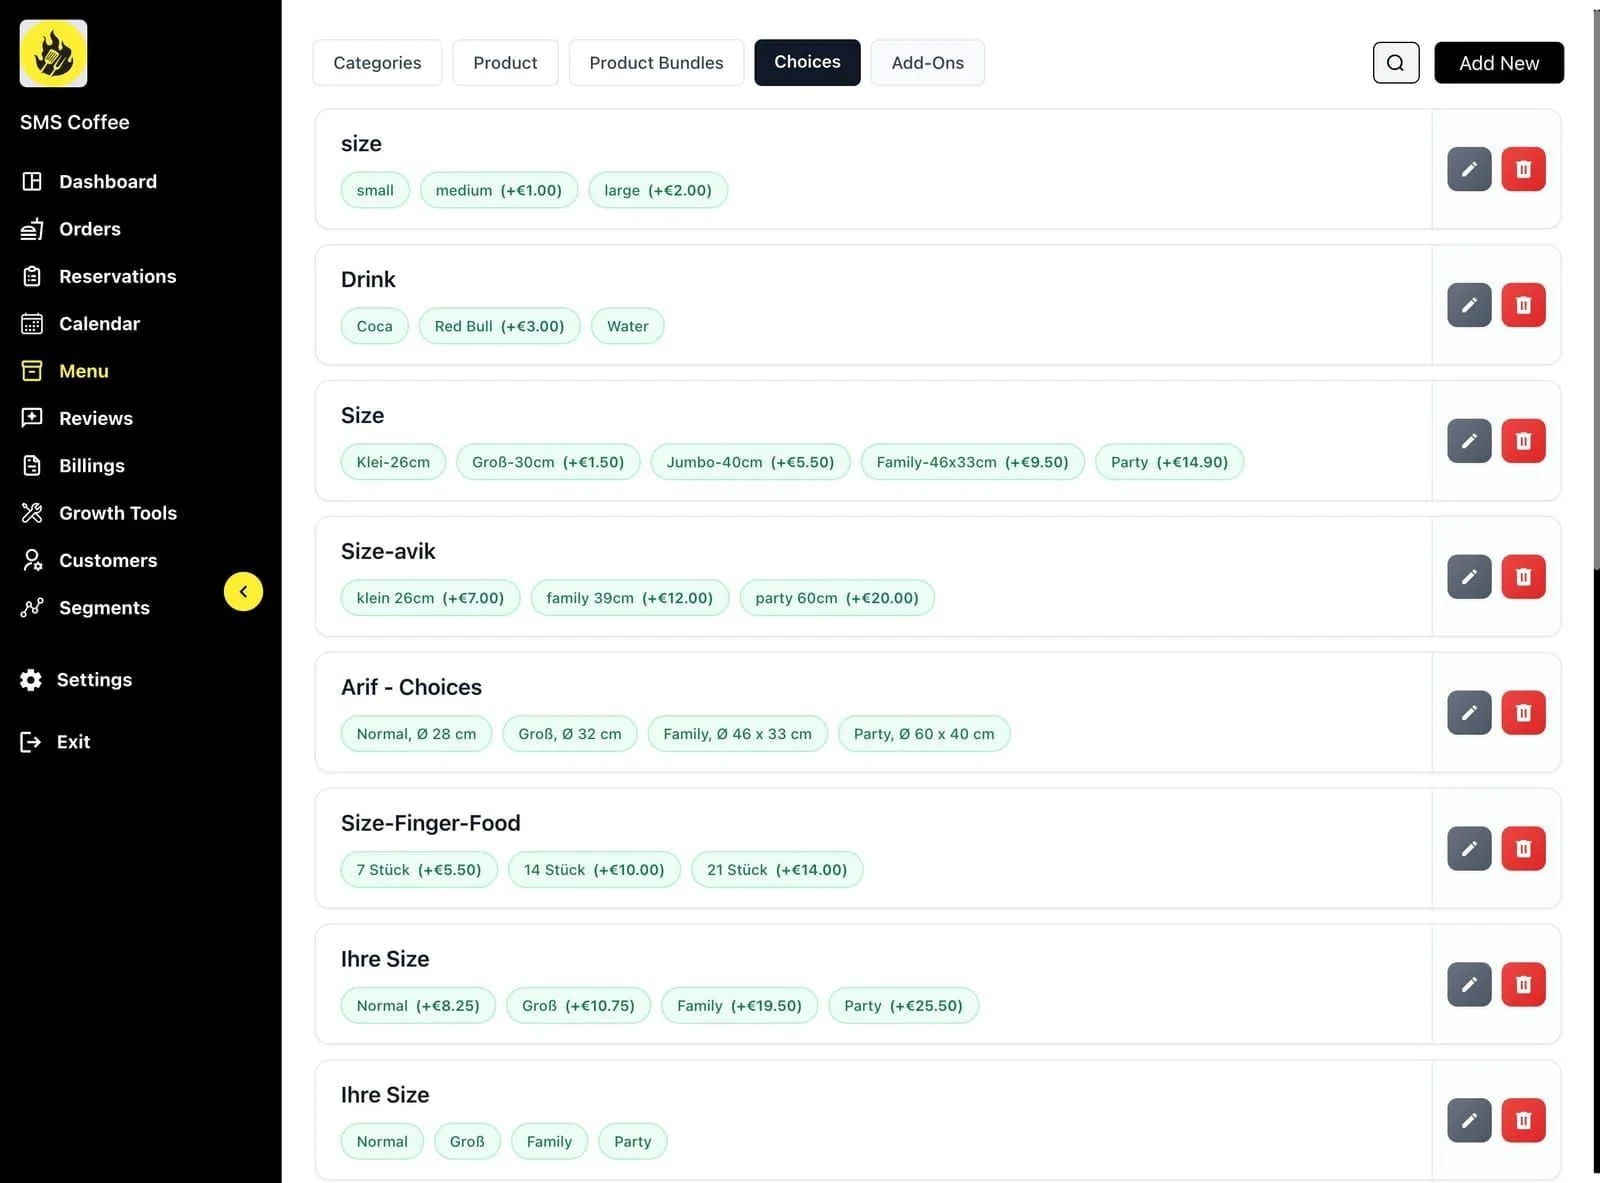
- Option names (Thin Crust, Thick Crust)
- Additional prices if applicable
Step 4: Click Save
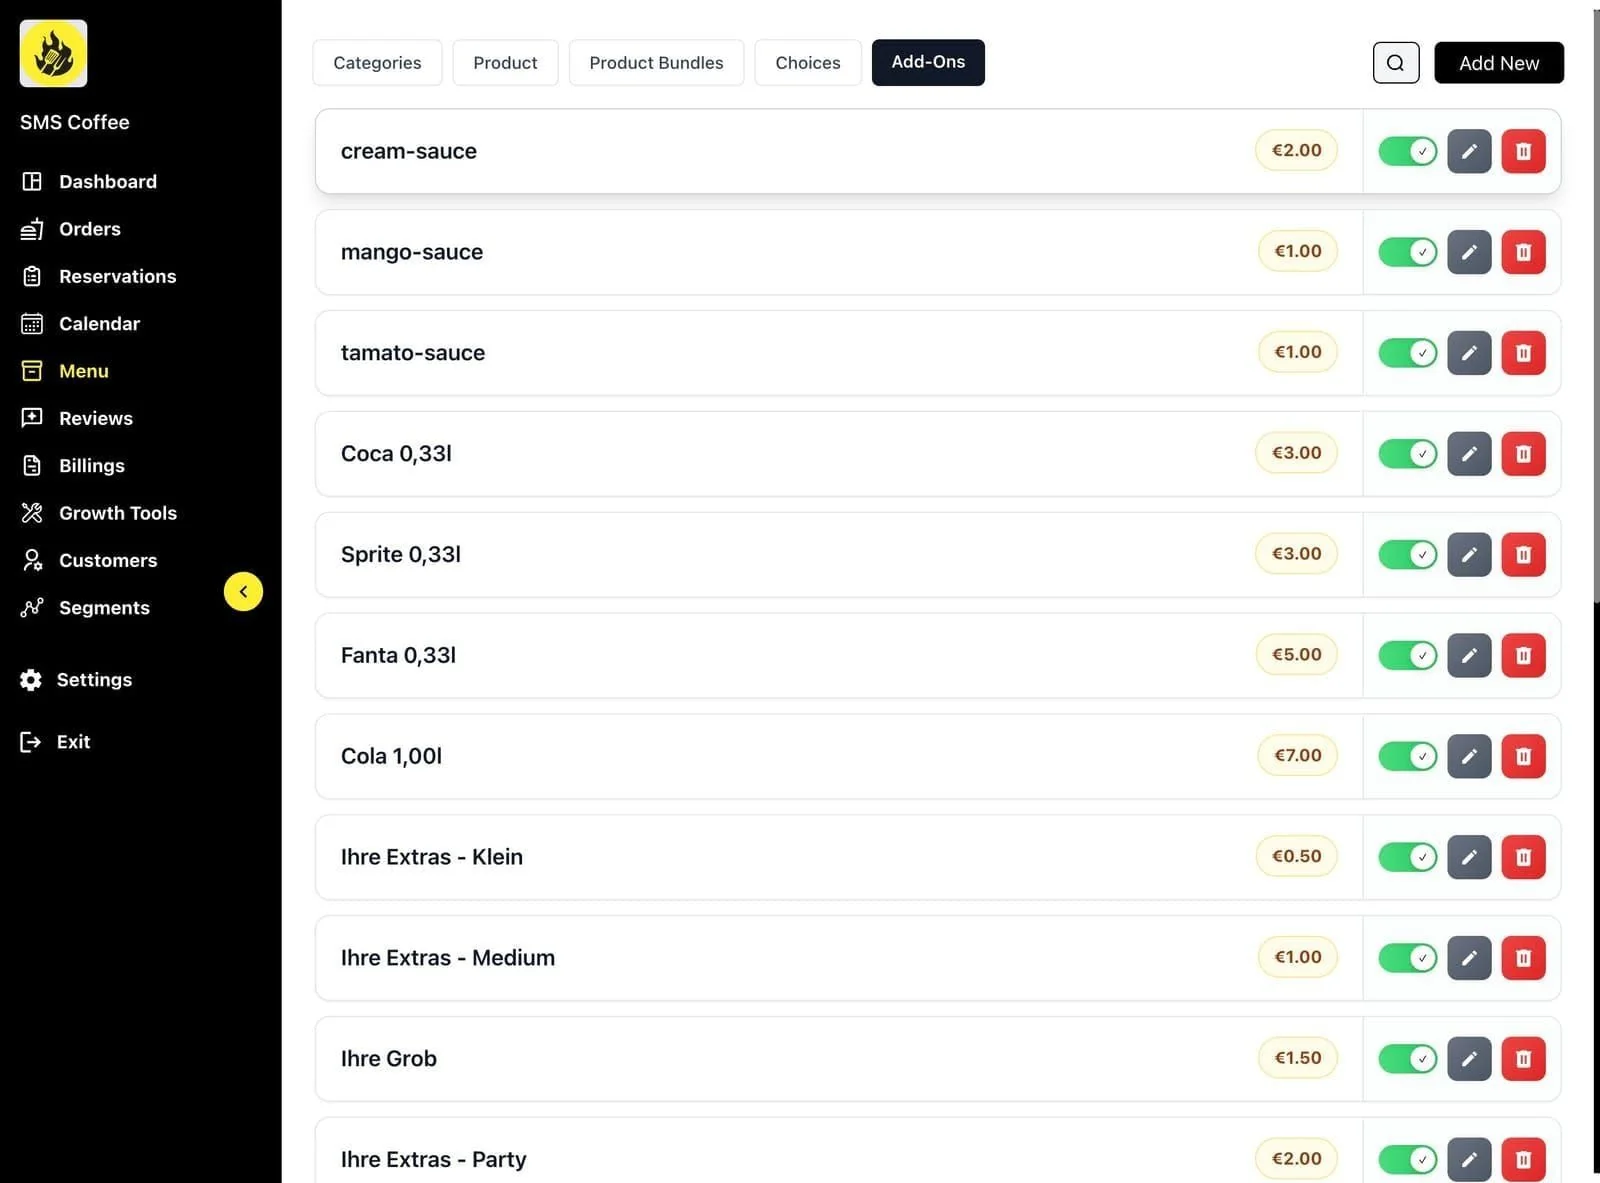
Managing Add-ons
Add-ons are extra items customers can add:
Step 1: Click the Add-ons tab
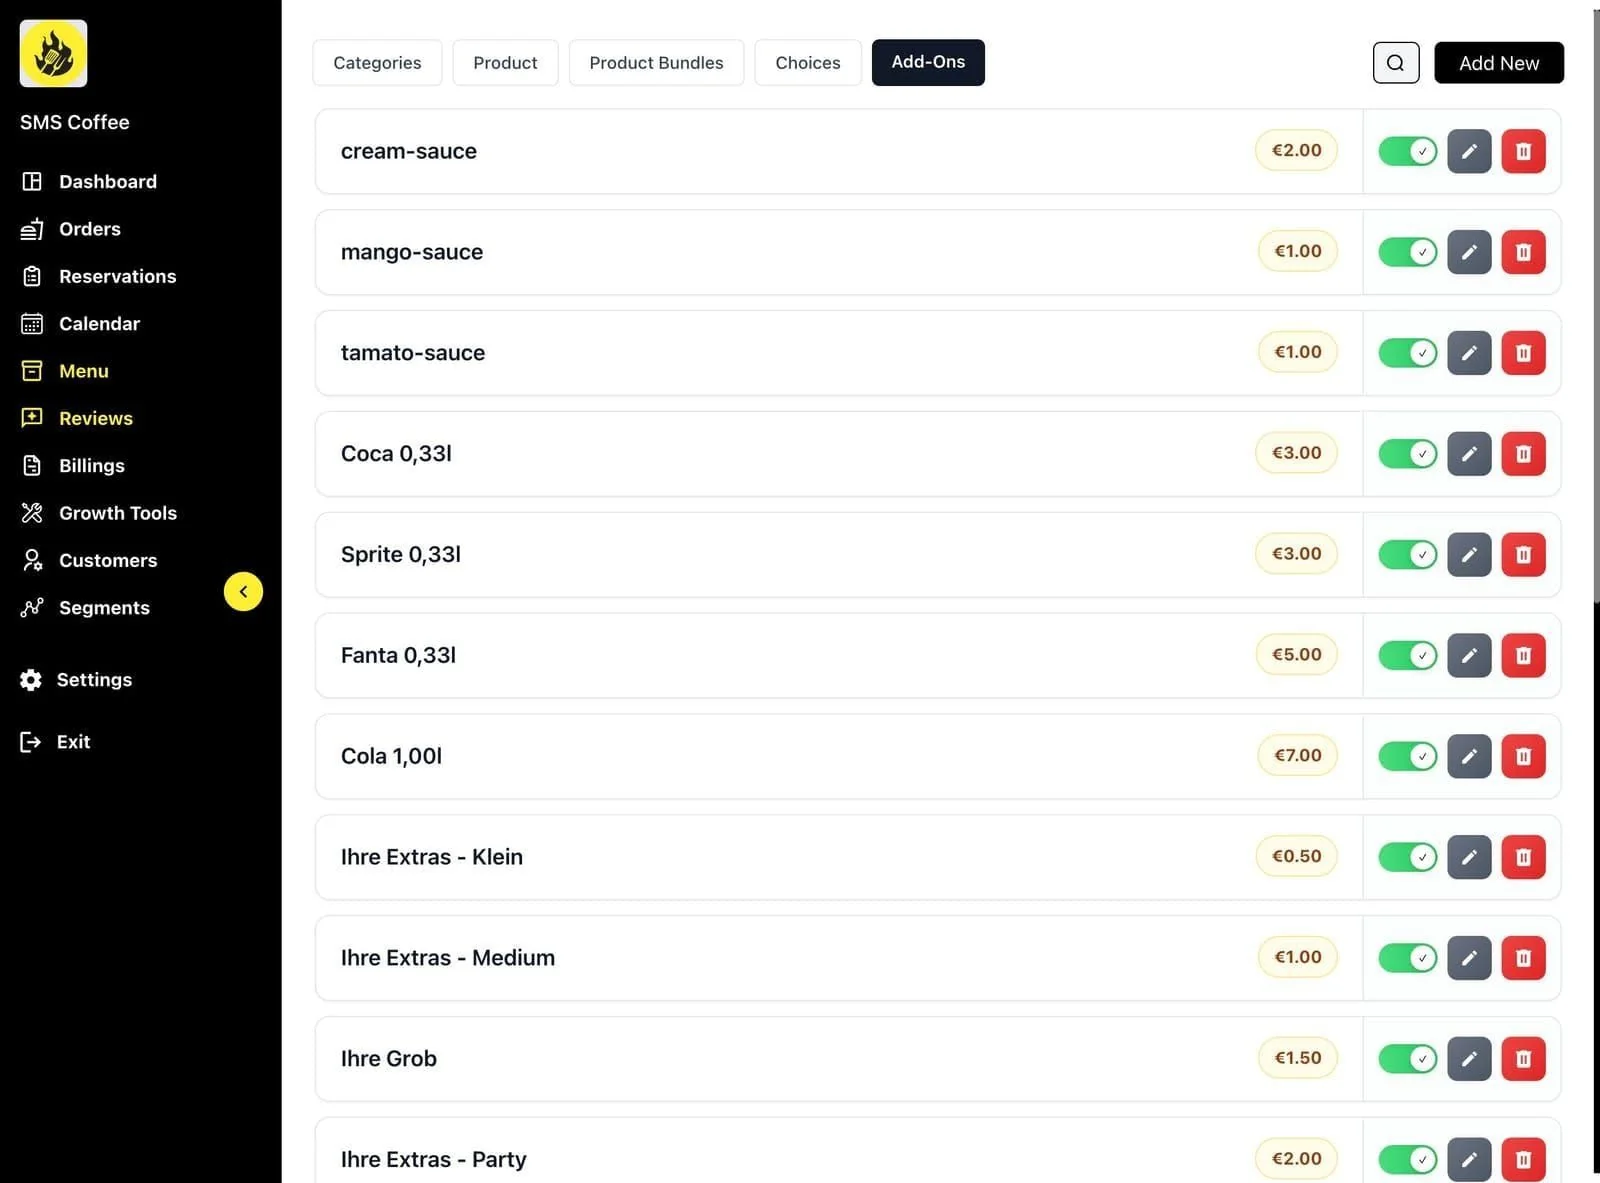
Step 2: View all add-on groups
Creating an Add-on Group
Step 1: Click Add Add-on
Step 2: Enter add-on details:
- Group name (e.g., "Extra Toppings")
- Items and prices
- Minimum/maximum selections
Step 3: Click Save
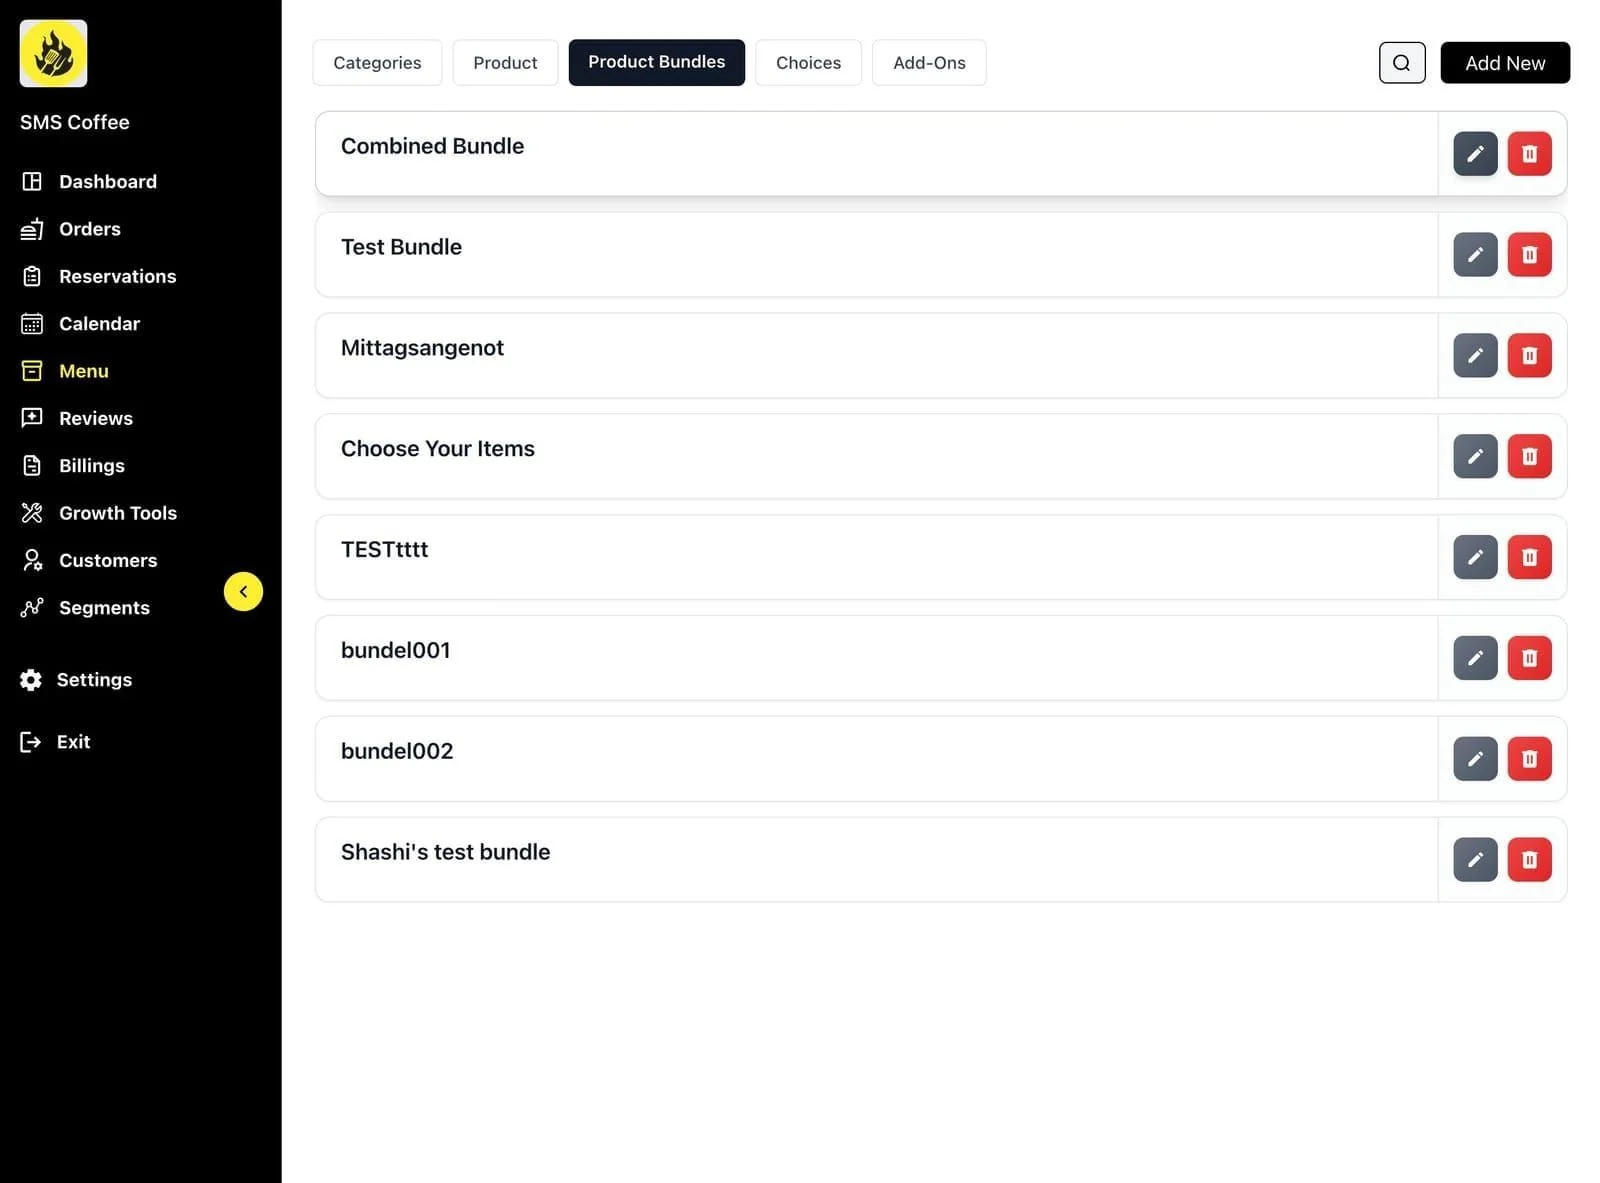
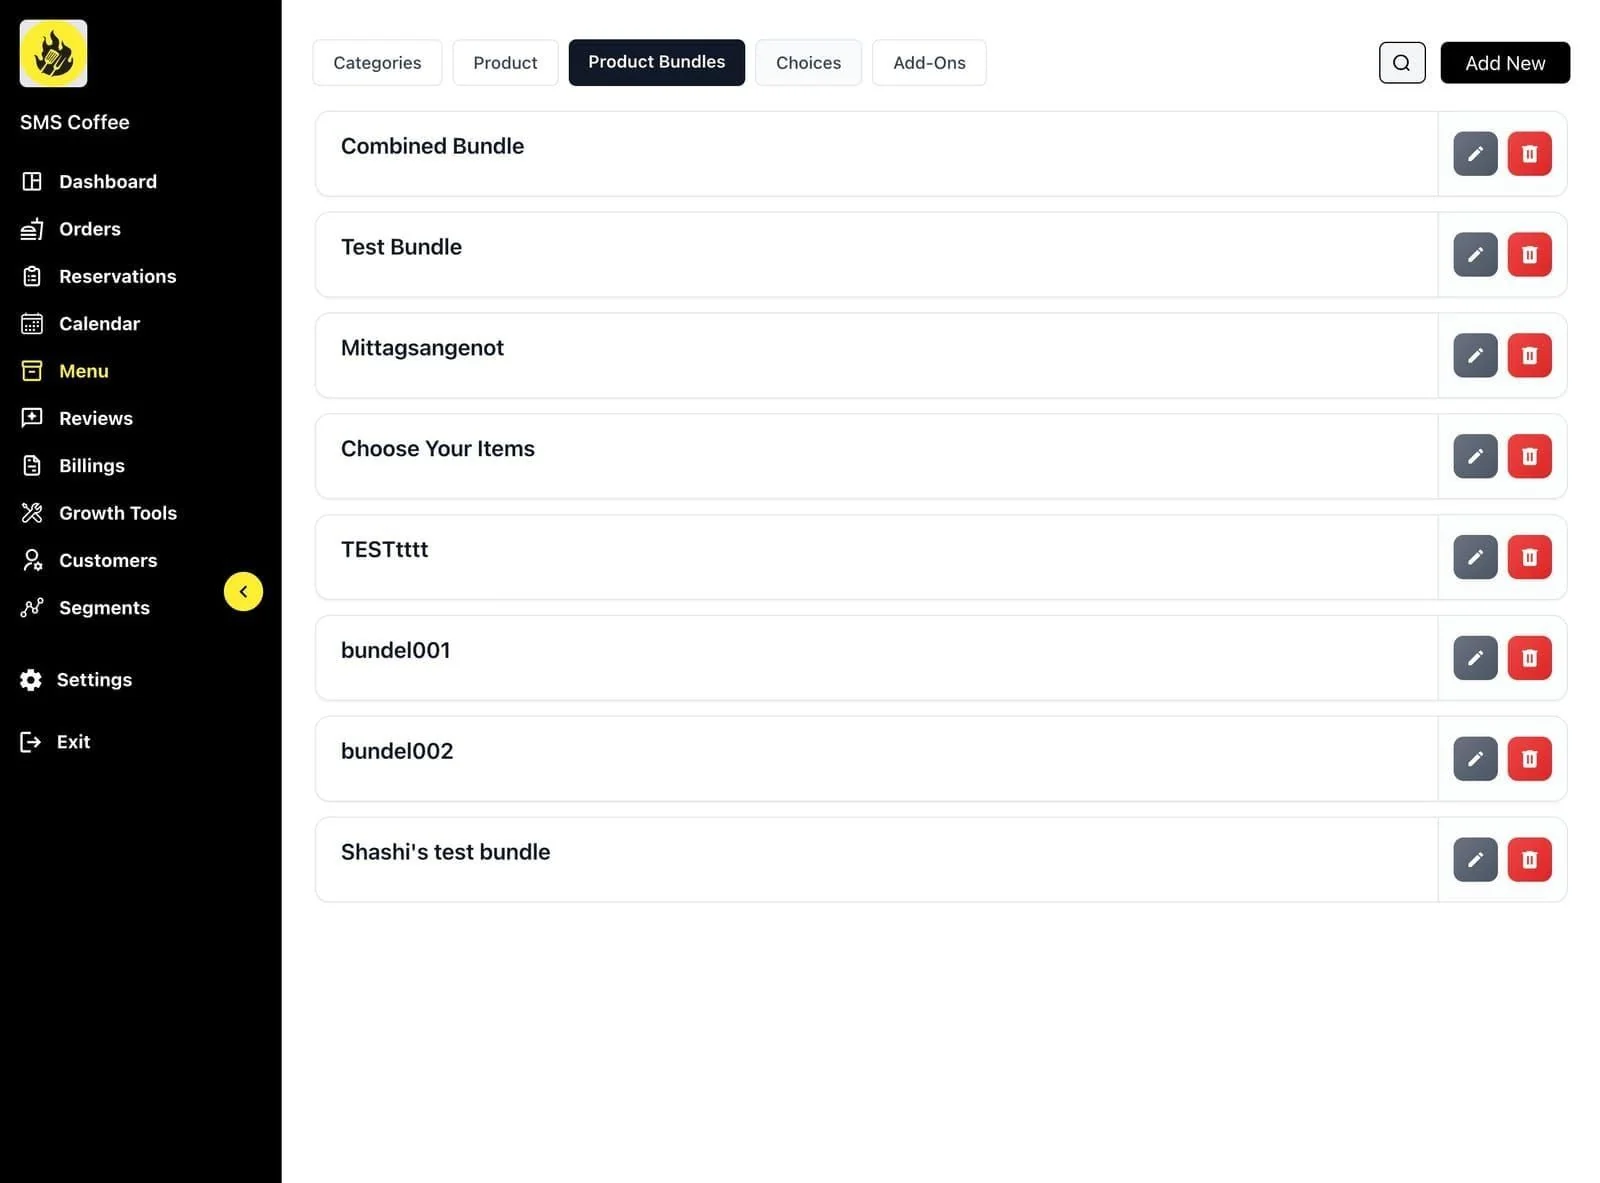
Product Bundles
Create combo meals and deals:
Step 1: Click the Product Bundles tab
Step 2: View existing bundles
Creating a Bundle
Step 1: Click Add Bundle
Step 2: Enter bundle details:
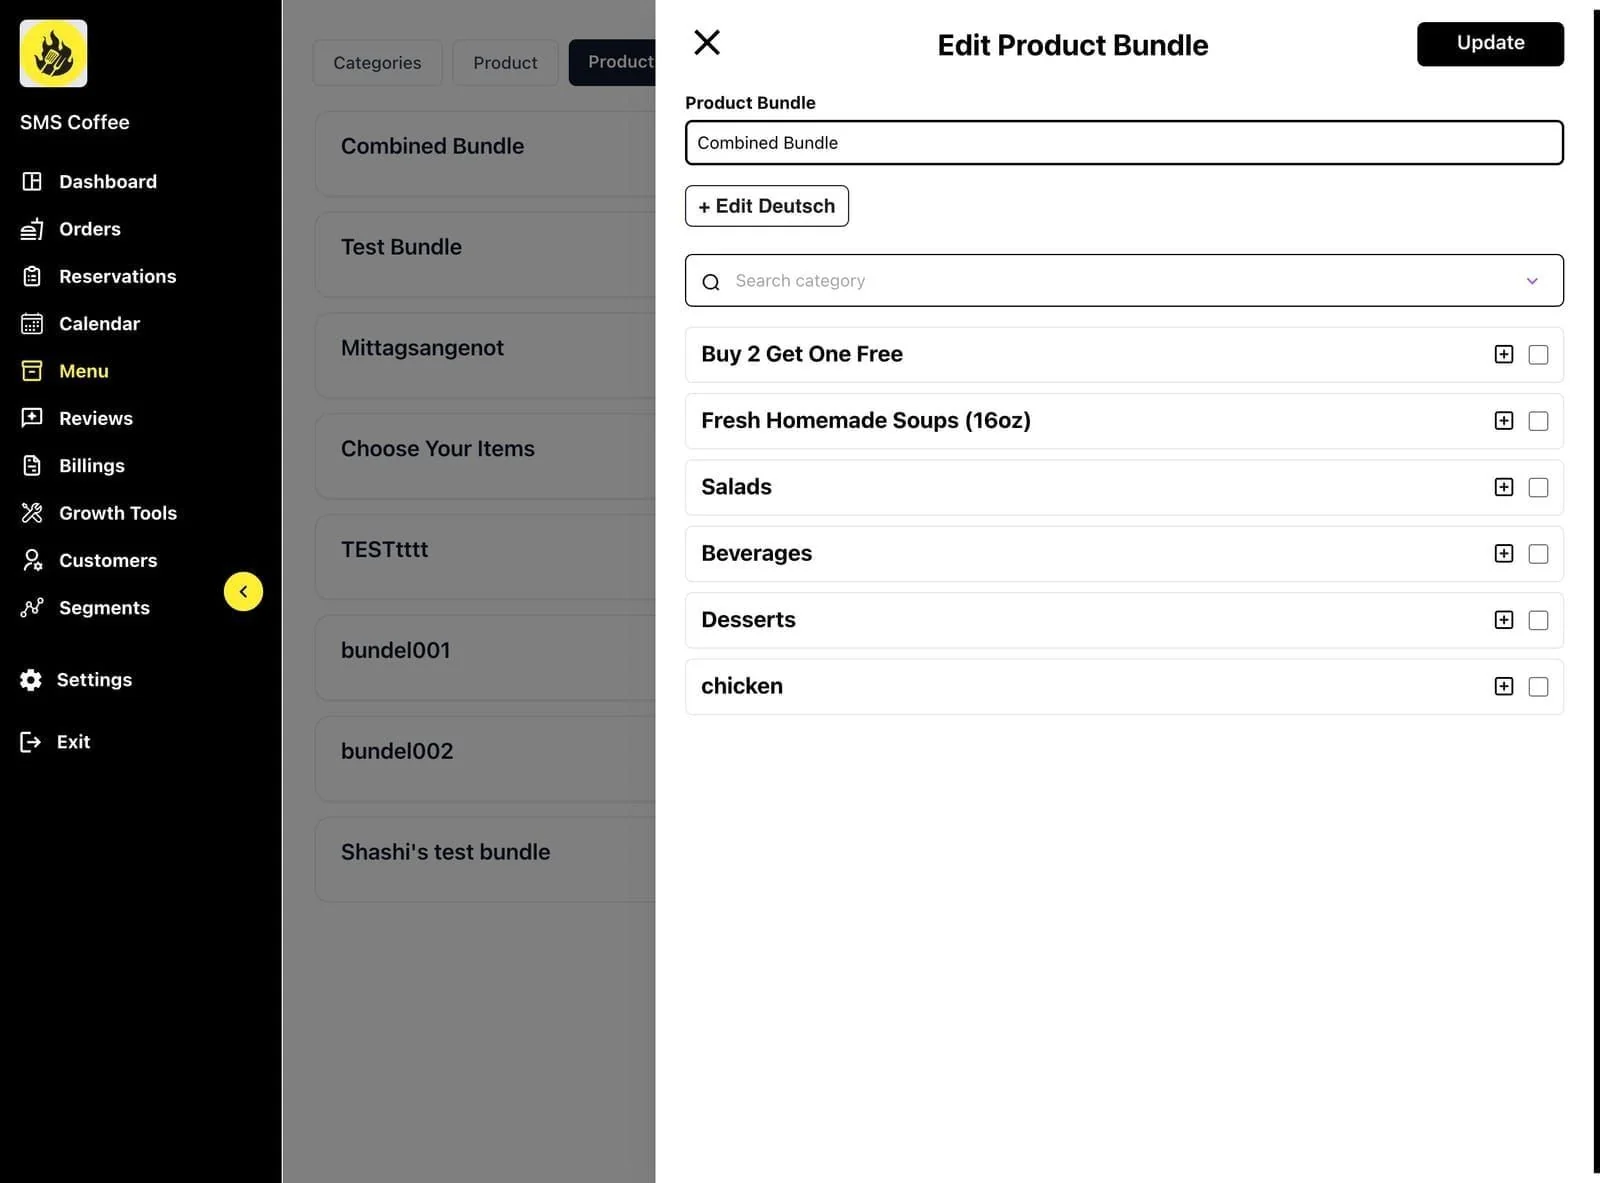
- Bundle name
- Bundle price
- Description
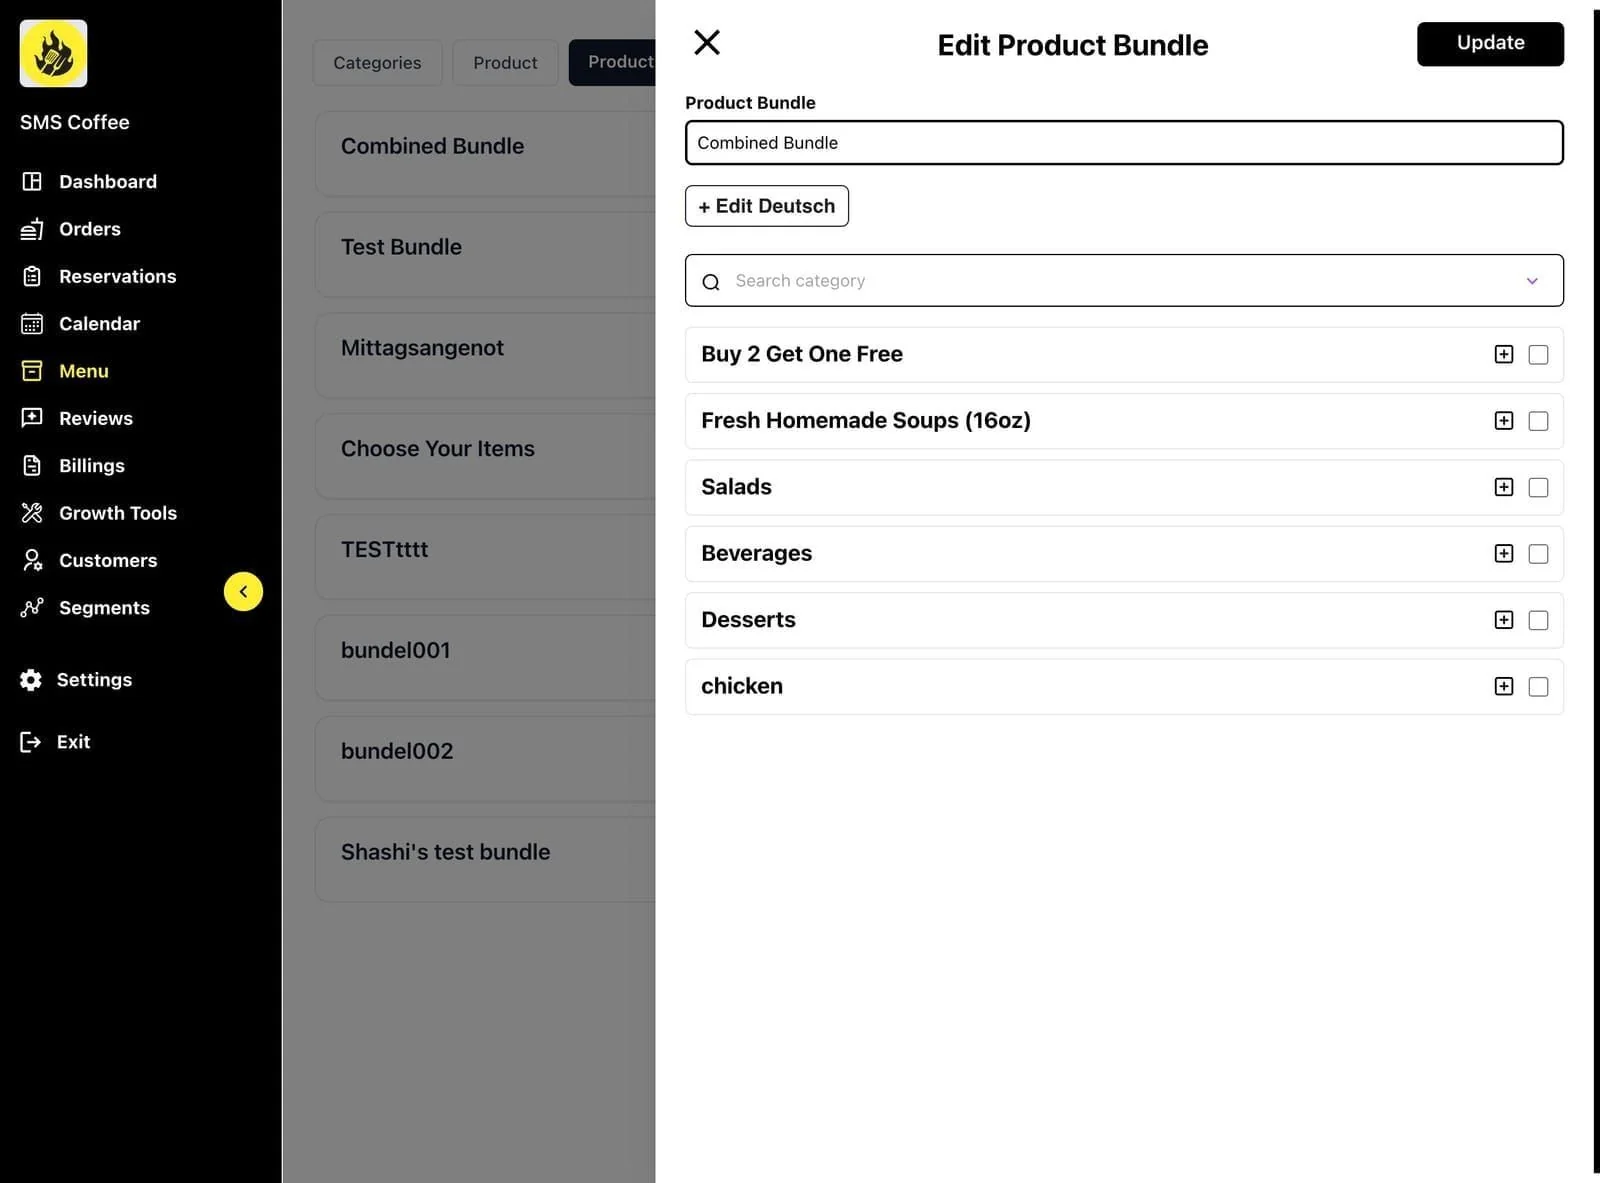
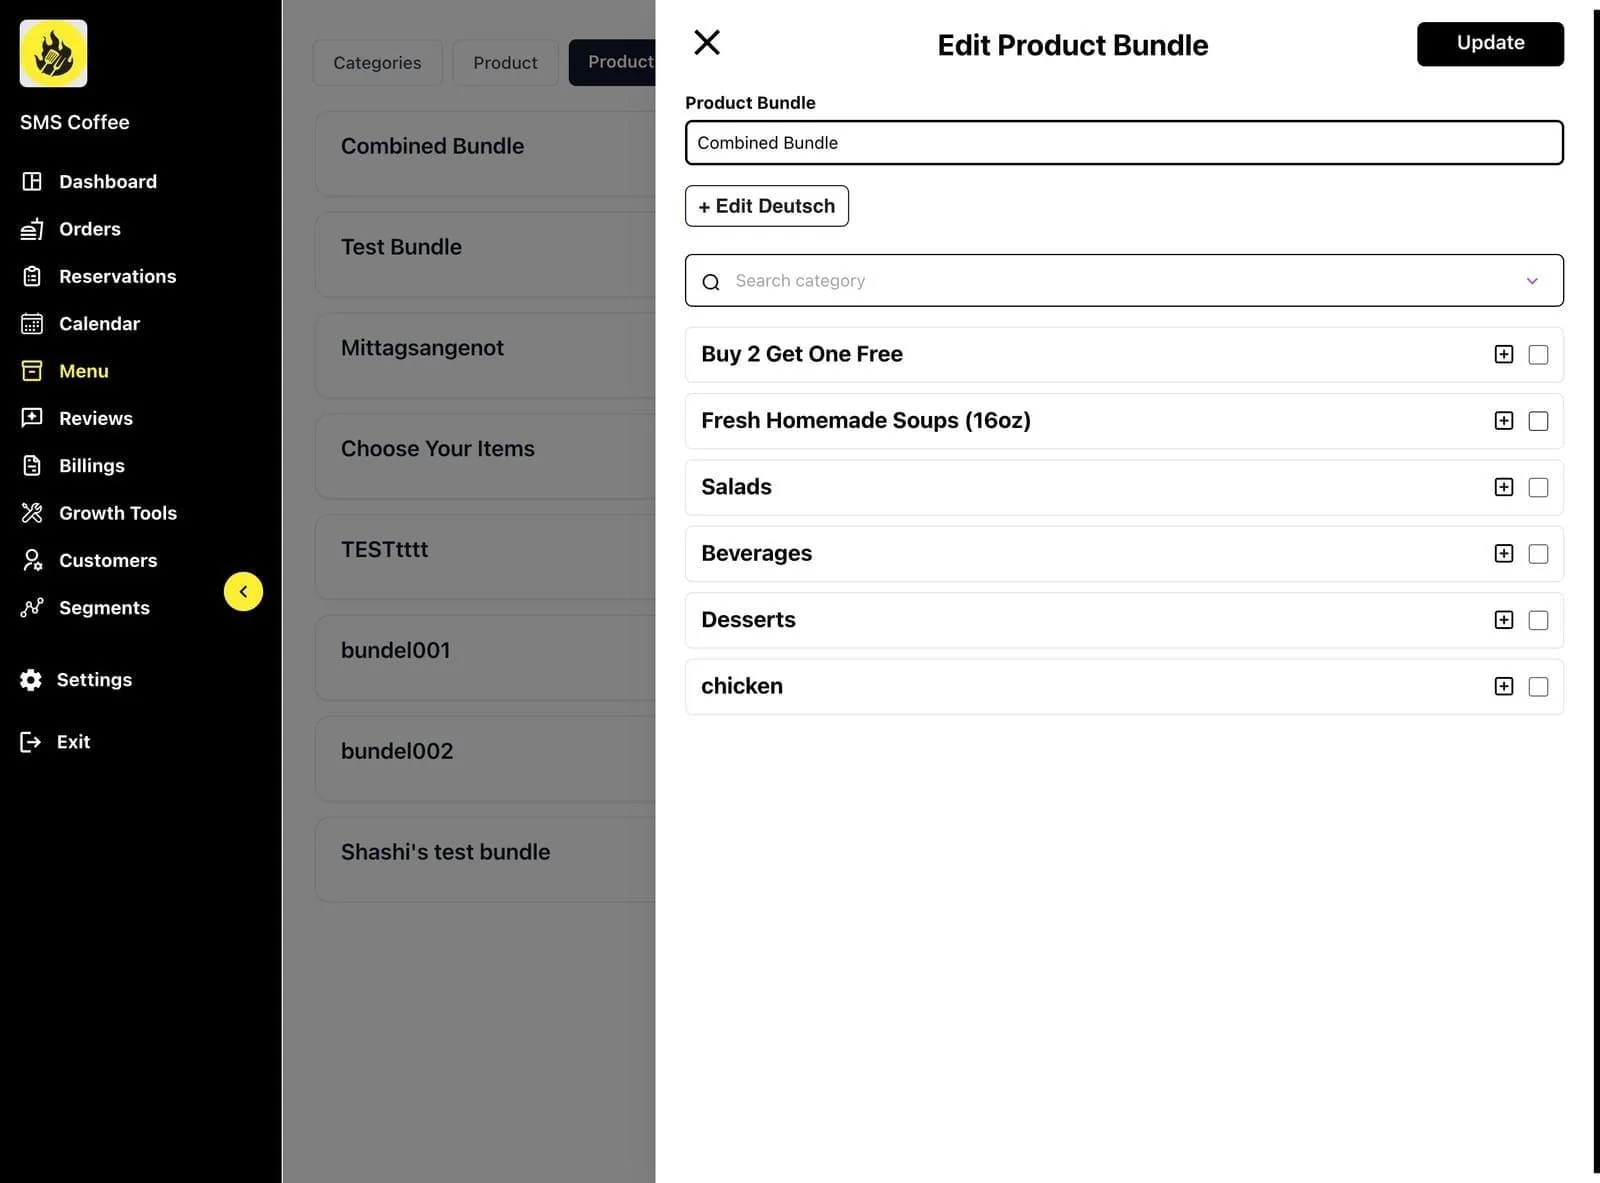
Step 3: Configure bundle categories:
- Add category sections (Main, Side, Drink)
- Select products for each category
Step 4: Set bundle form options:
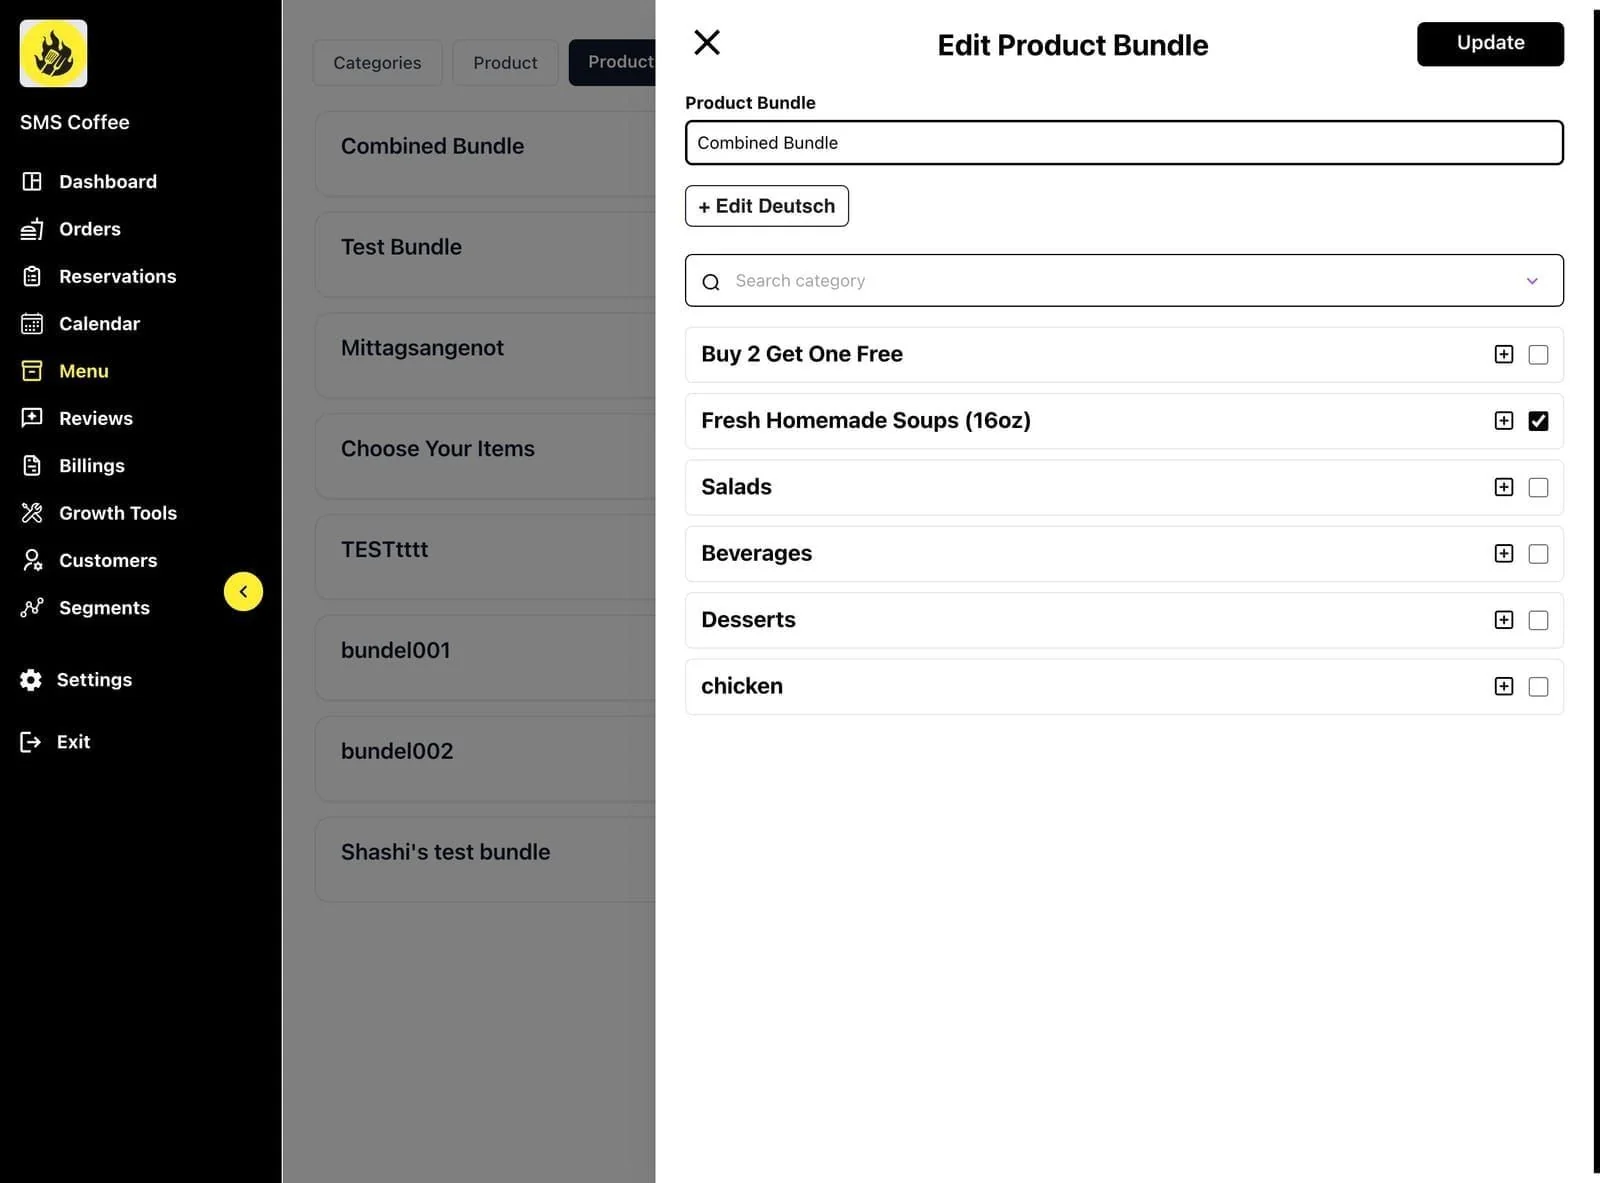
Step 5: Click Save
Pricing
Setting Dual Pricing
Pricing rules depend on your restaurant's configuration. Ask your manager or support how dual pricing is set up before changing prices, and review the displayed prices after an authorized change.
Bulk Price Updates
Update multiple prices at once:
Step 1: Select products to update
Step 2: Click Bulk Update
Step 3: Choose update type:
- Percentage increase
- Fixed amount increase
- Set specific price
Step 4: Review changes
Step 5: Confirm update
Allergen Information
Required for food safety compliance:
Step 1: Edit a product
Step 2: Scroll to Allergens section
Step 3: Check all applicable allergens:
- Gluten, Dairy, Nuts, etc.
Step 4: Add any additives
Step 5: Save the product
Best Practices
Menu organization:
- Keep categories logical and clear
- Use consistent naming
- Order items by popularity
Product details:
- Write clear descriptions
- Include allergen info
- Use high-quality images
Pricing:
- Review prices regularly
- Consider delivery vs. dine-in costs
- Keep bundle pricing attractive