
Printing
Configure kitchen tickets and customer receipts
Use the configured printers for kitchen tickets, customer receipts, and reports according to your restaurant's workflow.
Review draft: This guide was checked against local application source but has not been verified with a physical printer on the current US QA build. Printer options and output vary by device, connection, market, and configuration.
Print a kitchen ticket
- Review the order and its items.
- If KT Print is available, use it according to your restaurant's procedure.
- Check that the intended kitchen or bar station received a legible ticket with the expected items and notes.
Some configurations print automatically at a different point in the order flow. If you are unsure whether a ticket printed, check the station before trying again to avoid duplicate tickets.
Print a customer receipt
- Check the order and payment status.
- Use the receipt option shown for the order, or follow your restaurant's configured automatic-print workflow.
- Check the printed receipt for the expected order, amount, and payment status. If it is missing or incorrect, follow your manager's procedure and ask support for help.
Receipt options and required fields depend on the market and configuration. A payment confirmation on screen does not by itself verify that a receipt printed correctly.
Offer a digital receipt
After payment, the success screen may show a QR code labeled Scan to view PDF receipt. If it is available, follow your restaurant's procedure for letting the guest scan it. If the receipt does not open, ask your manager for help.
The receipt link returned a PDF in one US QA test. Scanning on a guest device and delivering the receipt were not tested.
Printer setup and routing
A manager or authorized technician can set up a printer and its routing:
Scroll across the screenshot if needed to see the marker.
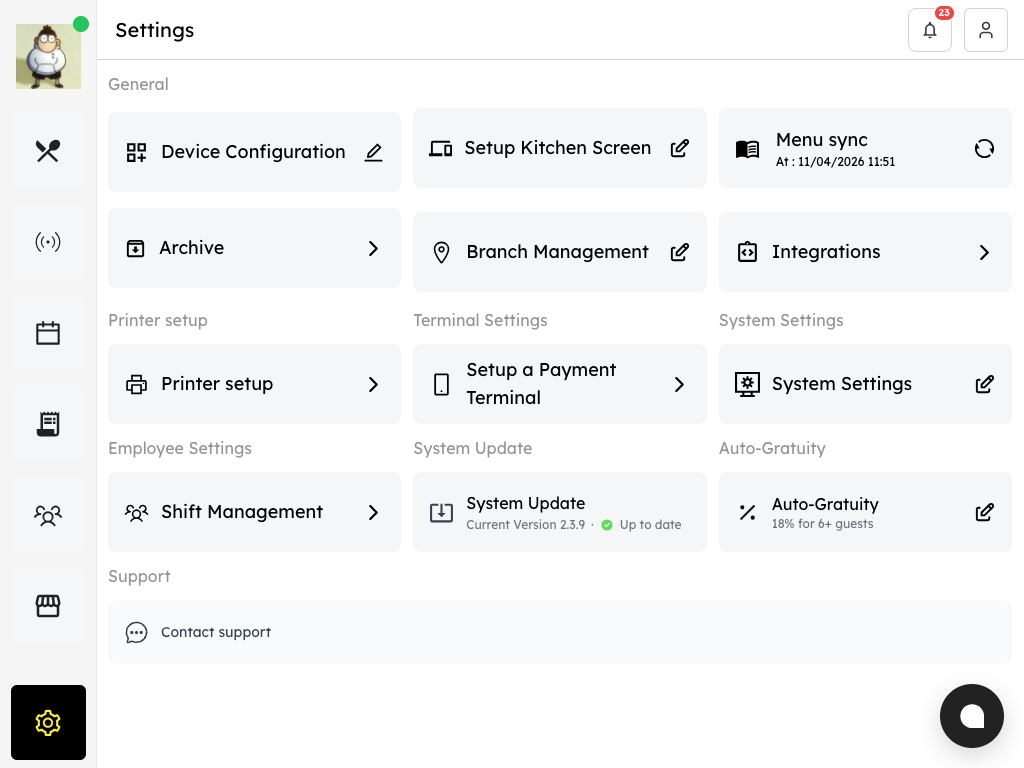
US QA review draft: find Printer setup in Settings.
- Printer setup: Open this option to review printers and profiles.
- Open Settings → Printer setup, then select Add Printer. Choose an available connection and enter or select the printer details requested by the app.
- Select Add Profile and name the profile for its station, such as kitchen or bar.
- Open Product Receipt, enable Use this printer for product receipts, and choose the intended Categories to Print. Review the other receipt and automatic-print options, then save the profile.
- On the printer's card, choose Profile → Assign, select the profile, and save. Use Test Print if shown, then follow your restaurant's approved order-test procedure and check the output at each station.
Connection choices depend on the device and app; an option may not be available on every platform. A new profile can have categories and other print options enabled already. An empty category selection can mean All Categories, so review the settings carefully before saving.
These steps come from local application source and still need current US QA and physical-printer verification. Overlapping profiles or fallback routing can produce unexpected or duplicate tickets.
If printing fails
- Check that the printer has power, paper, and the expected network or device connection.
- Check the appropriate station for an existing ticket before retrying.
- Note the order, device, time, and any error shown; do not include unnecessary customer details when contacting support.
- Ask your manager or support to review the printer configuration. Avoid changing settings unless you are authorized to do so.